
Red Enamels
An update on the trials and tribulations of temperamental techniques.
I might have mentioned this before - enameling is hard. I have been trying to get a transparent red onto a SeaDragon pendant for quite some time without any success.
The biggest challenge is in the metal: Sterling silver contains 7.5% copper, and 92.5% pure silver (this is why you see 925 stamped on some sterling pieces). Transparent warm-toned jewelry enamels, especially reds and oranges, may react with the metal surface they're being adhered to and become unpleasant yellows or browns. The usual fix is to use a base layer of clear enamel, called flux, to insulate the colored enamel from the material.
I was fighting against this very hard. I make very tiny things, and I felt very much that the necessity of the clear layer would take up too much depth, leaving less room for the colors. I imagined finished pieces that were either pale and speckled from too-thin layers, or else bulging and heavy from overfilled enamel.
In one experiment, I tried casting several pieces in pure silver instead of sterling, hoping it was only the copper causing the reaction. It works for a few colors, but most still go yellow.
Finally I visited enamelist Judy Stone during an open lab at the Crucible in Oakland. I was hoping she'd have some secret wisdom for me, as she's been an enamel artist for longer than I've been alive. In simple terms, she told me to quit beating my head against the wall and use the flux.
Sometimes you need someone with more experience to tell you what you already know 😑 ok. fine.
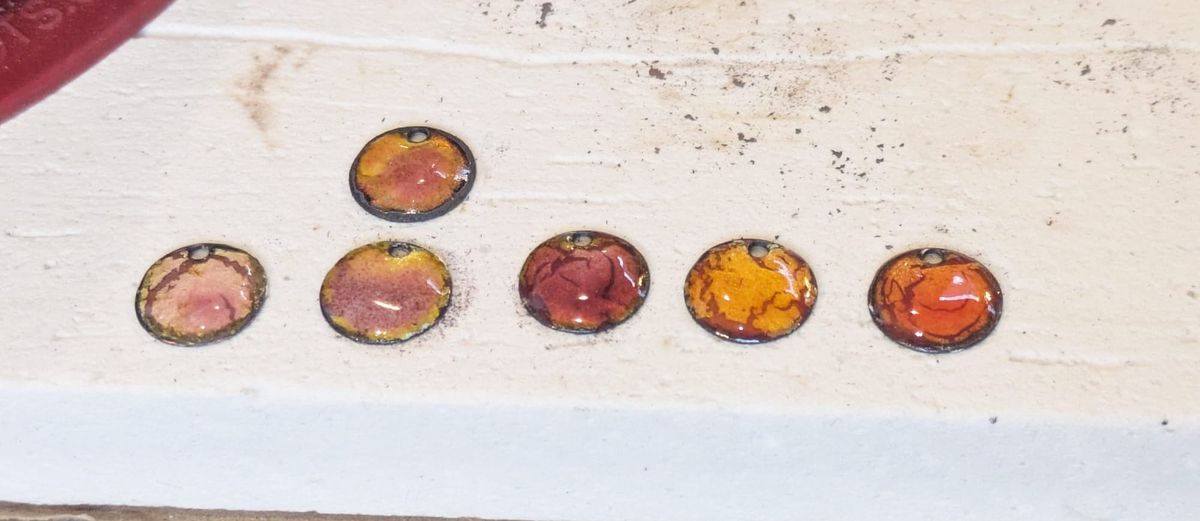
Having finally, begrudgingly, accepted this, I am beginning to get results. Not bright cherry red, but warm colors, which is a step in the right direction. Here are some recent samples.
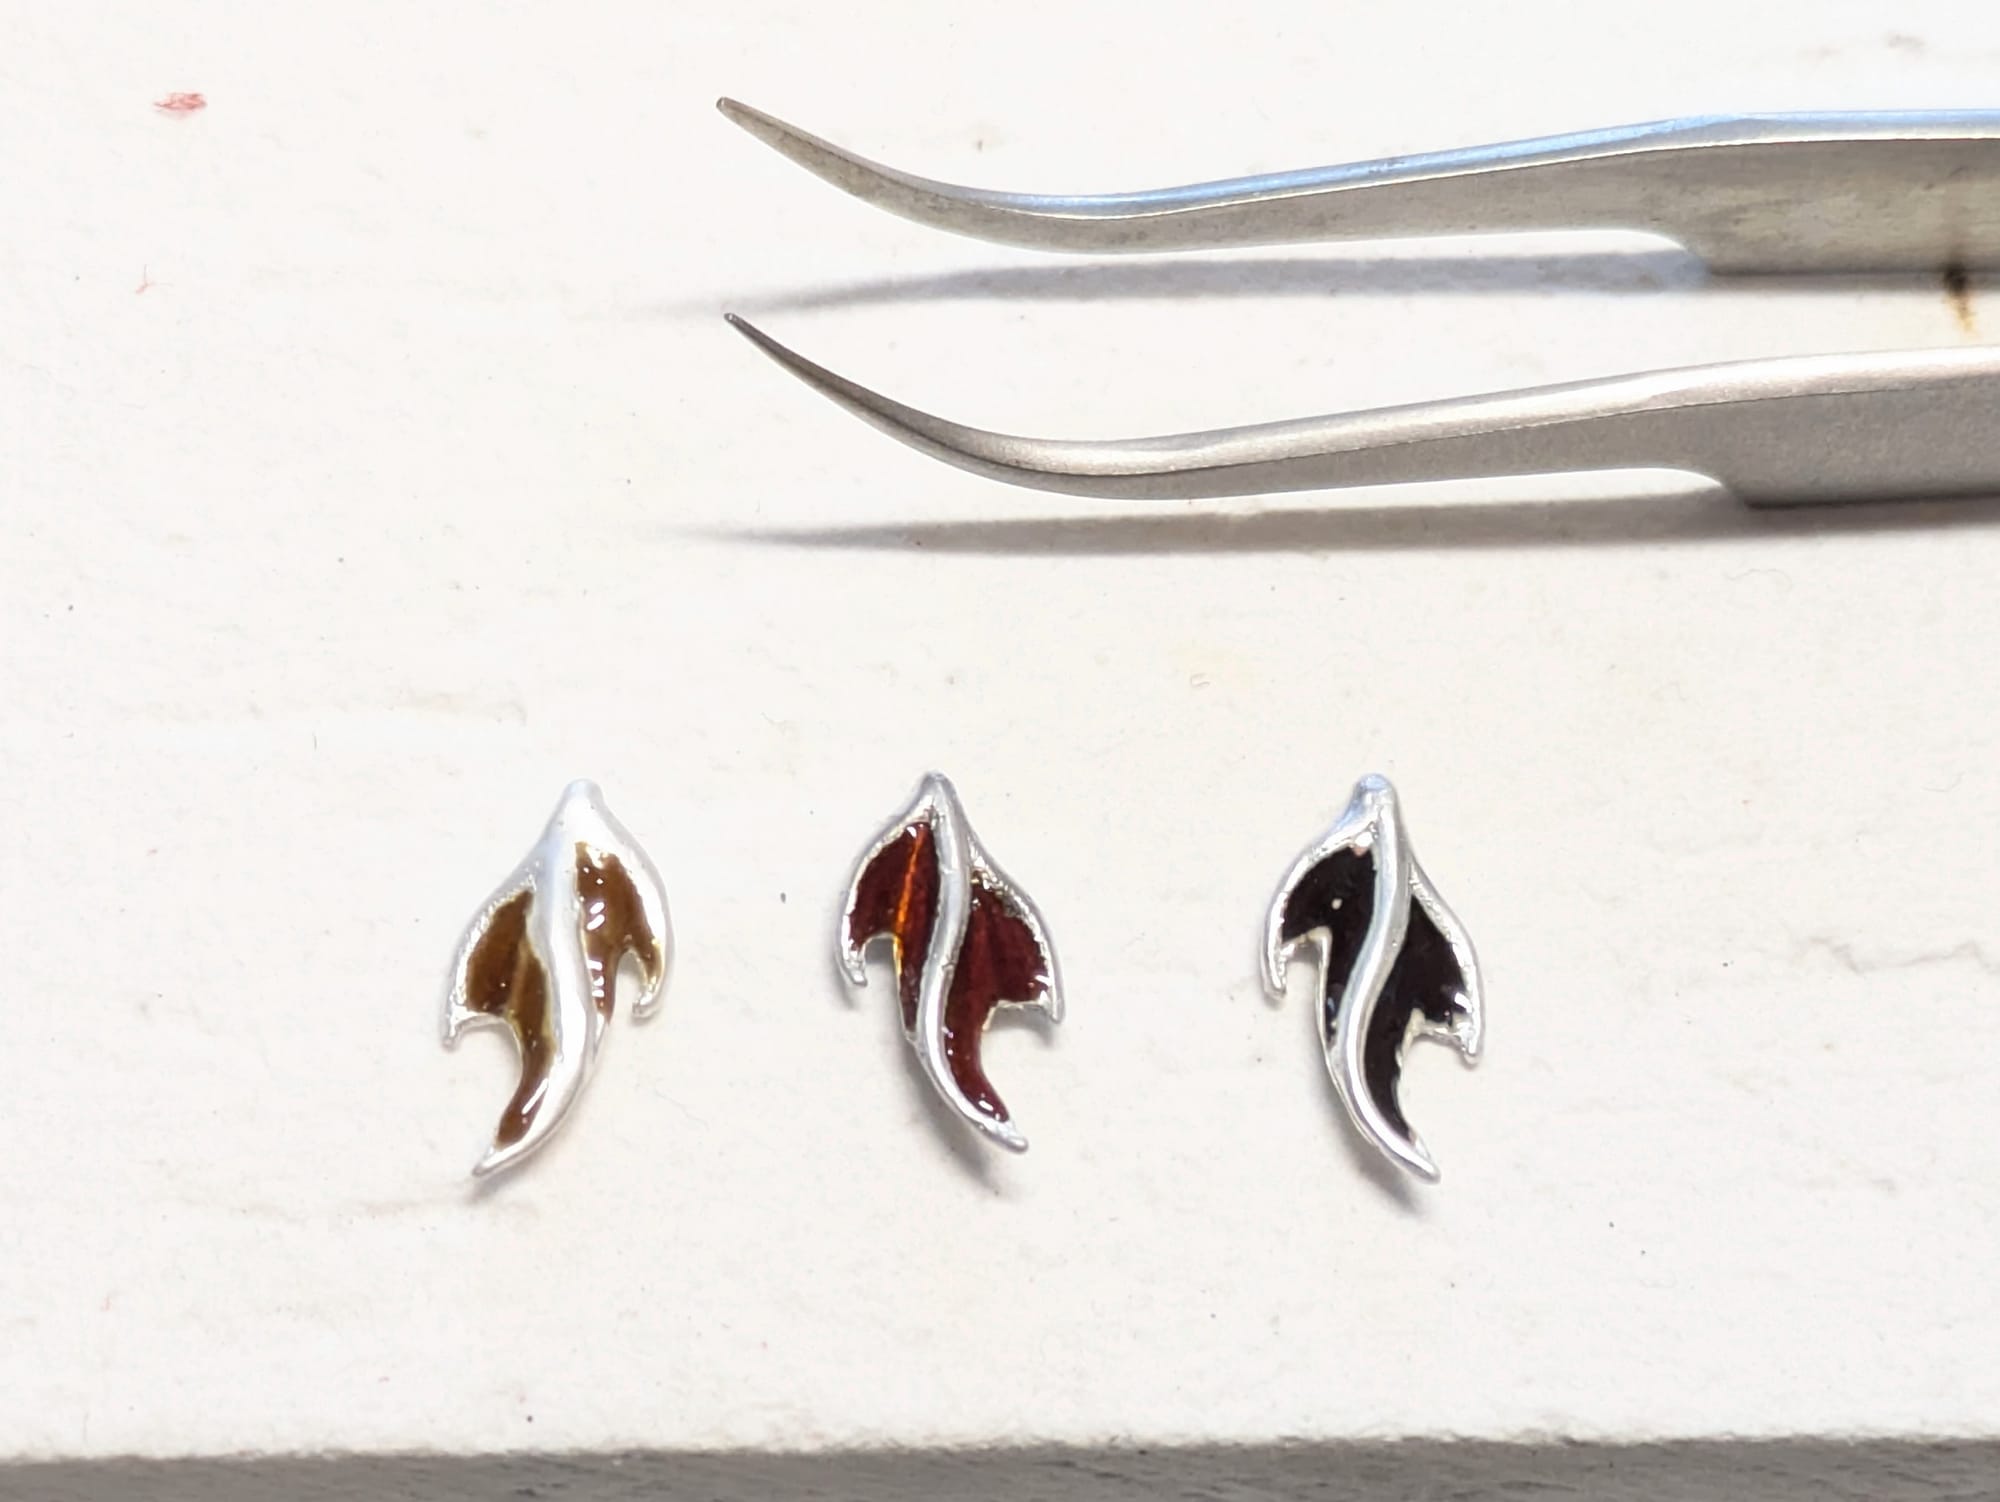
Here are 3 mini SeaDragons for earring, all made of pure silver. The first, a dark yellow, is supposed to be a purple enamel; this particular purple clearly reacts to silver at least as much as copper - ick. The second piece is the closest to bright red I've managed! The red here is very dark, almost opaque, but at least it isn't yellow. The last one is the exact same red enamel, but completely blackened by heat in the kiln. These two were made on the same day: the difference between them is 60 seconds in the kiln.
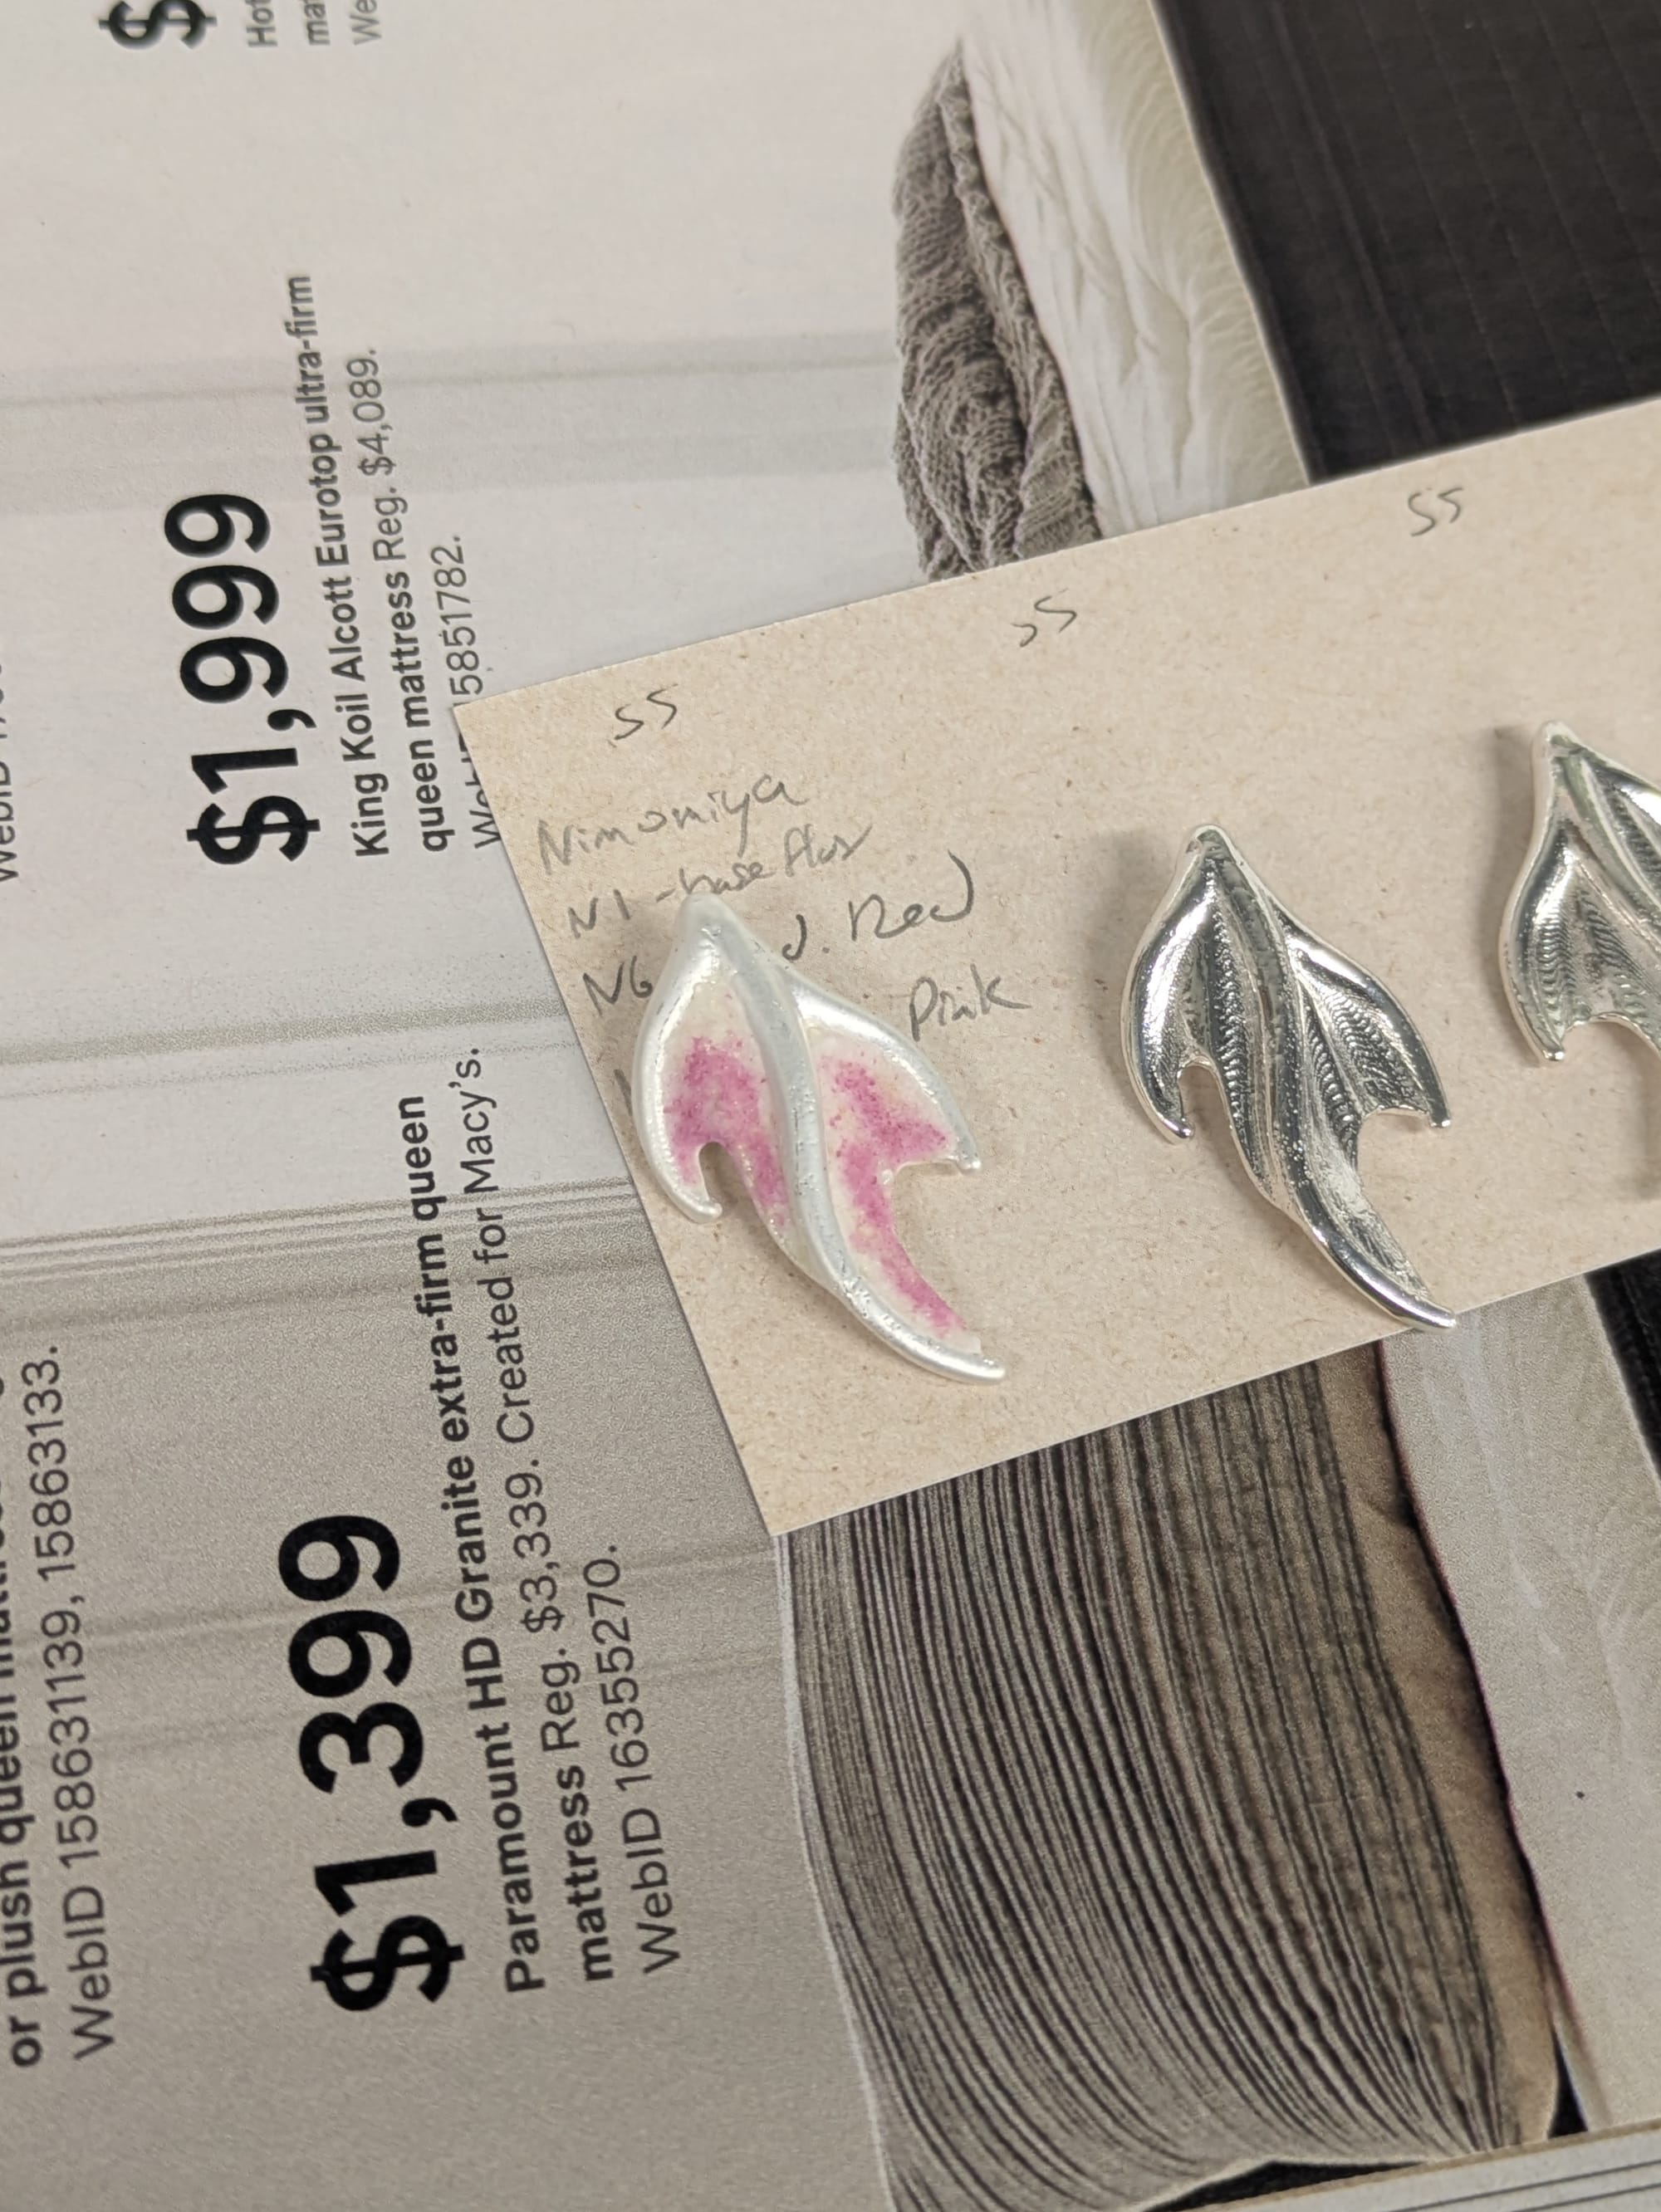
Three photos from enameling lab, of a sterling silver pendant using Ninomiya enamels N6 Medium Red, and N16 Dark Pink
Here are 3 photos chronologically of a single piece I worked on in lab. The equipment I was borrowing has much better heat control, and the pendant is much larger than the SeaDragon minis above, so burning out the colors was less likely. This piece is sterling silver, and my first attempt to accept that a base coat of flux would be necessary.
In the first photo, I've already applied the clear flux, melted that layer, and then begun to apply the colored layer. You can see the enamel powder before its heated is a different color: many enamels don't take their final color until after heating. Here the "medium red" color is an almost-white powder, while the "dark rose" enamel is much closer to its final color.
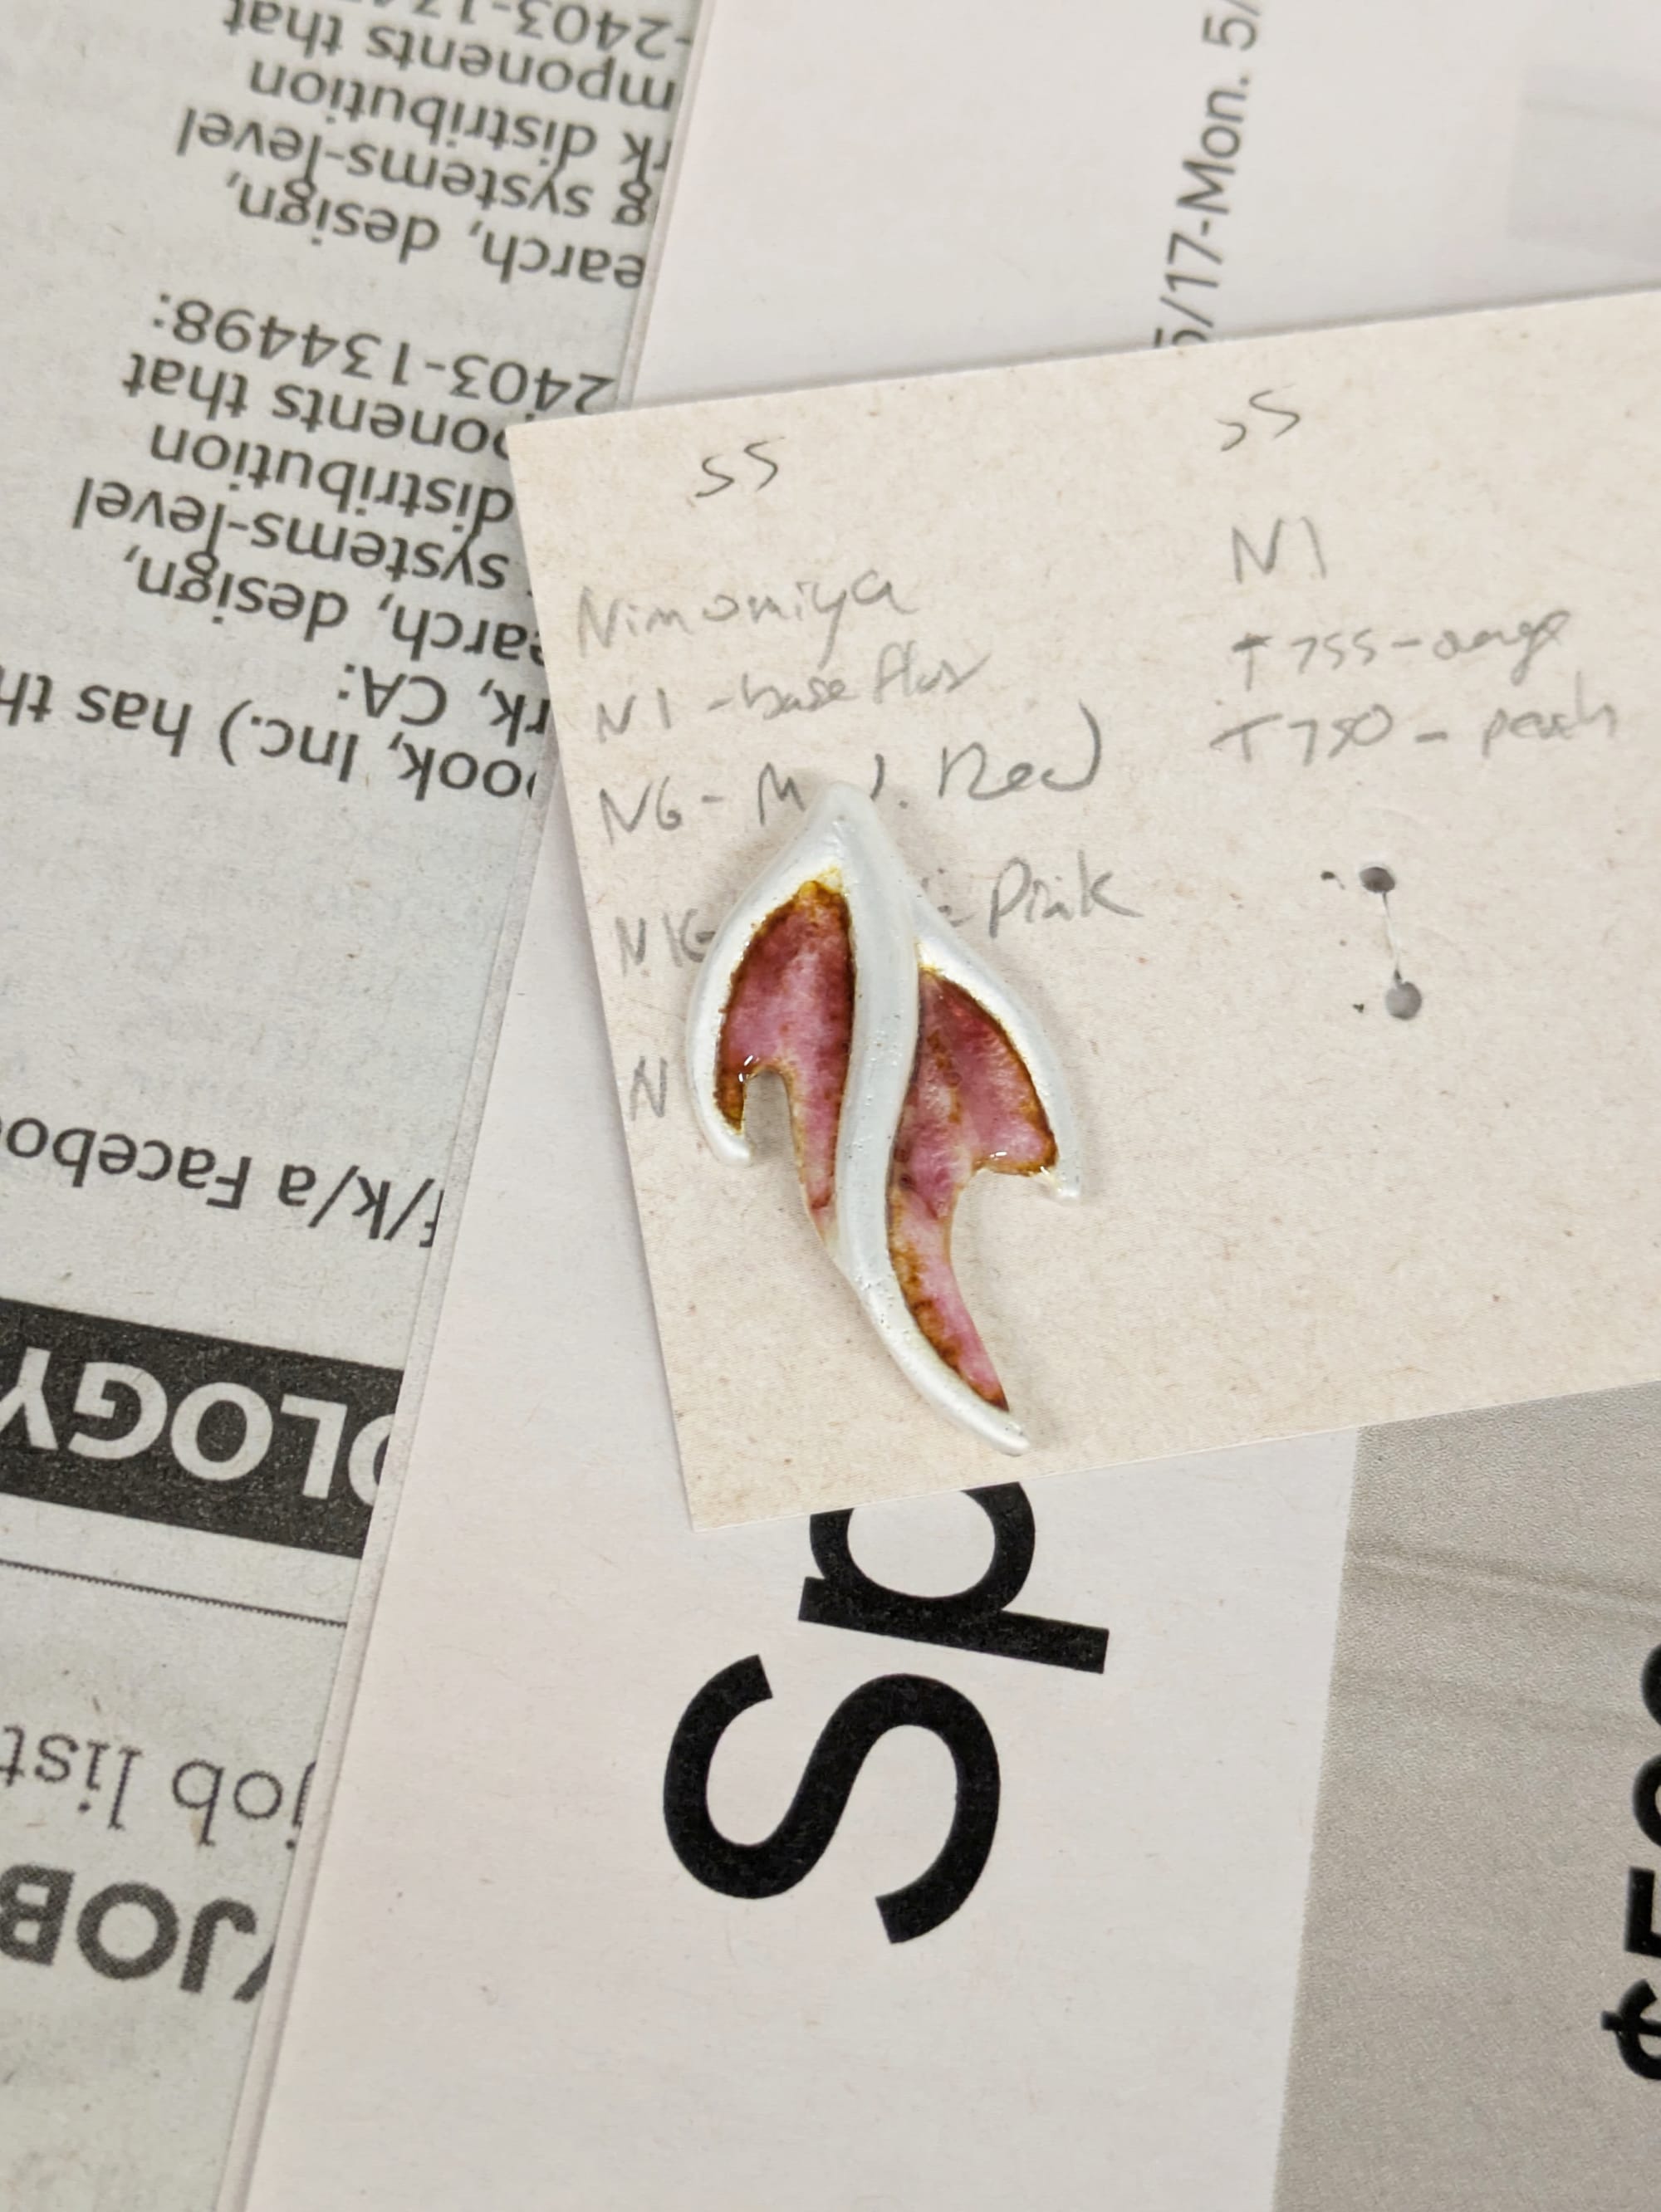
The second photo is after heating the first and second color layers. Probably I should have stopped here, but to me it looked rather unfortunately like an open wound, so I kept going.
In the third photo, you can see the colors are now muddled and hazy. Enamel is prone to over-working. Repeated layering and heating makes the colors blead together, can burn up warm tones, and might even introduce impurities to the enamel that create clouds or spots.

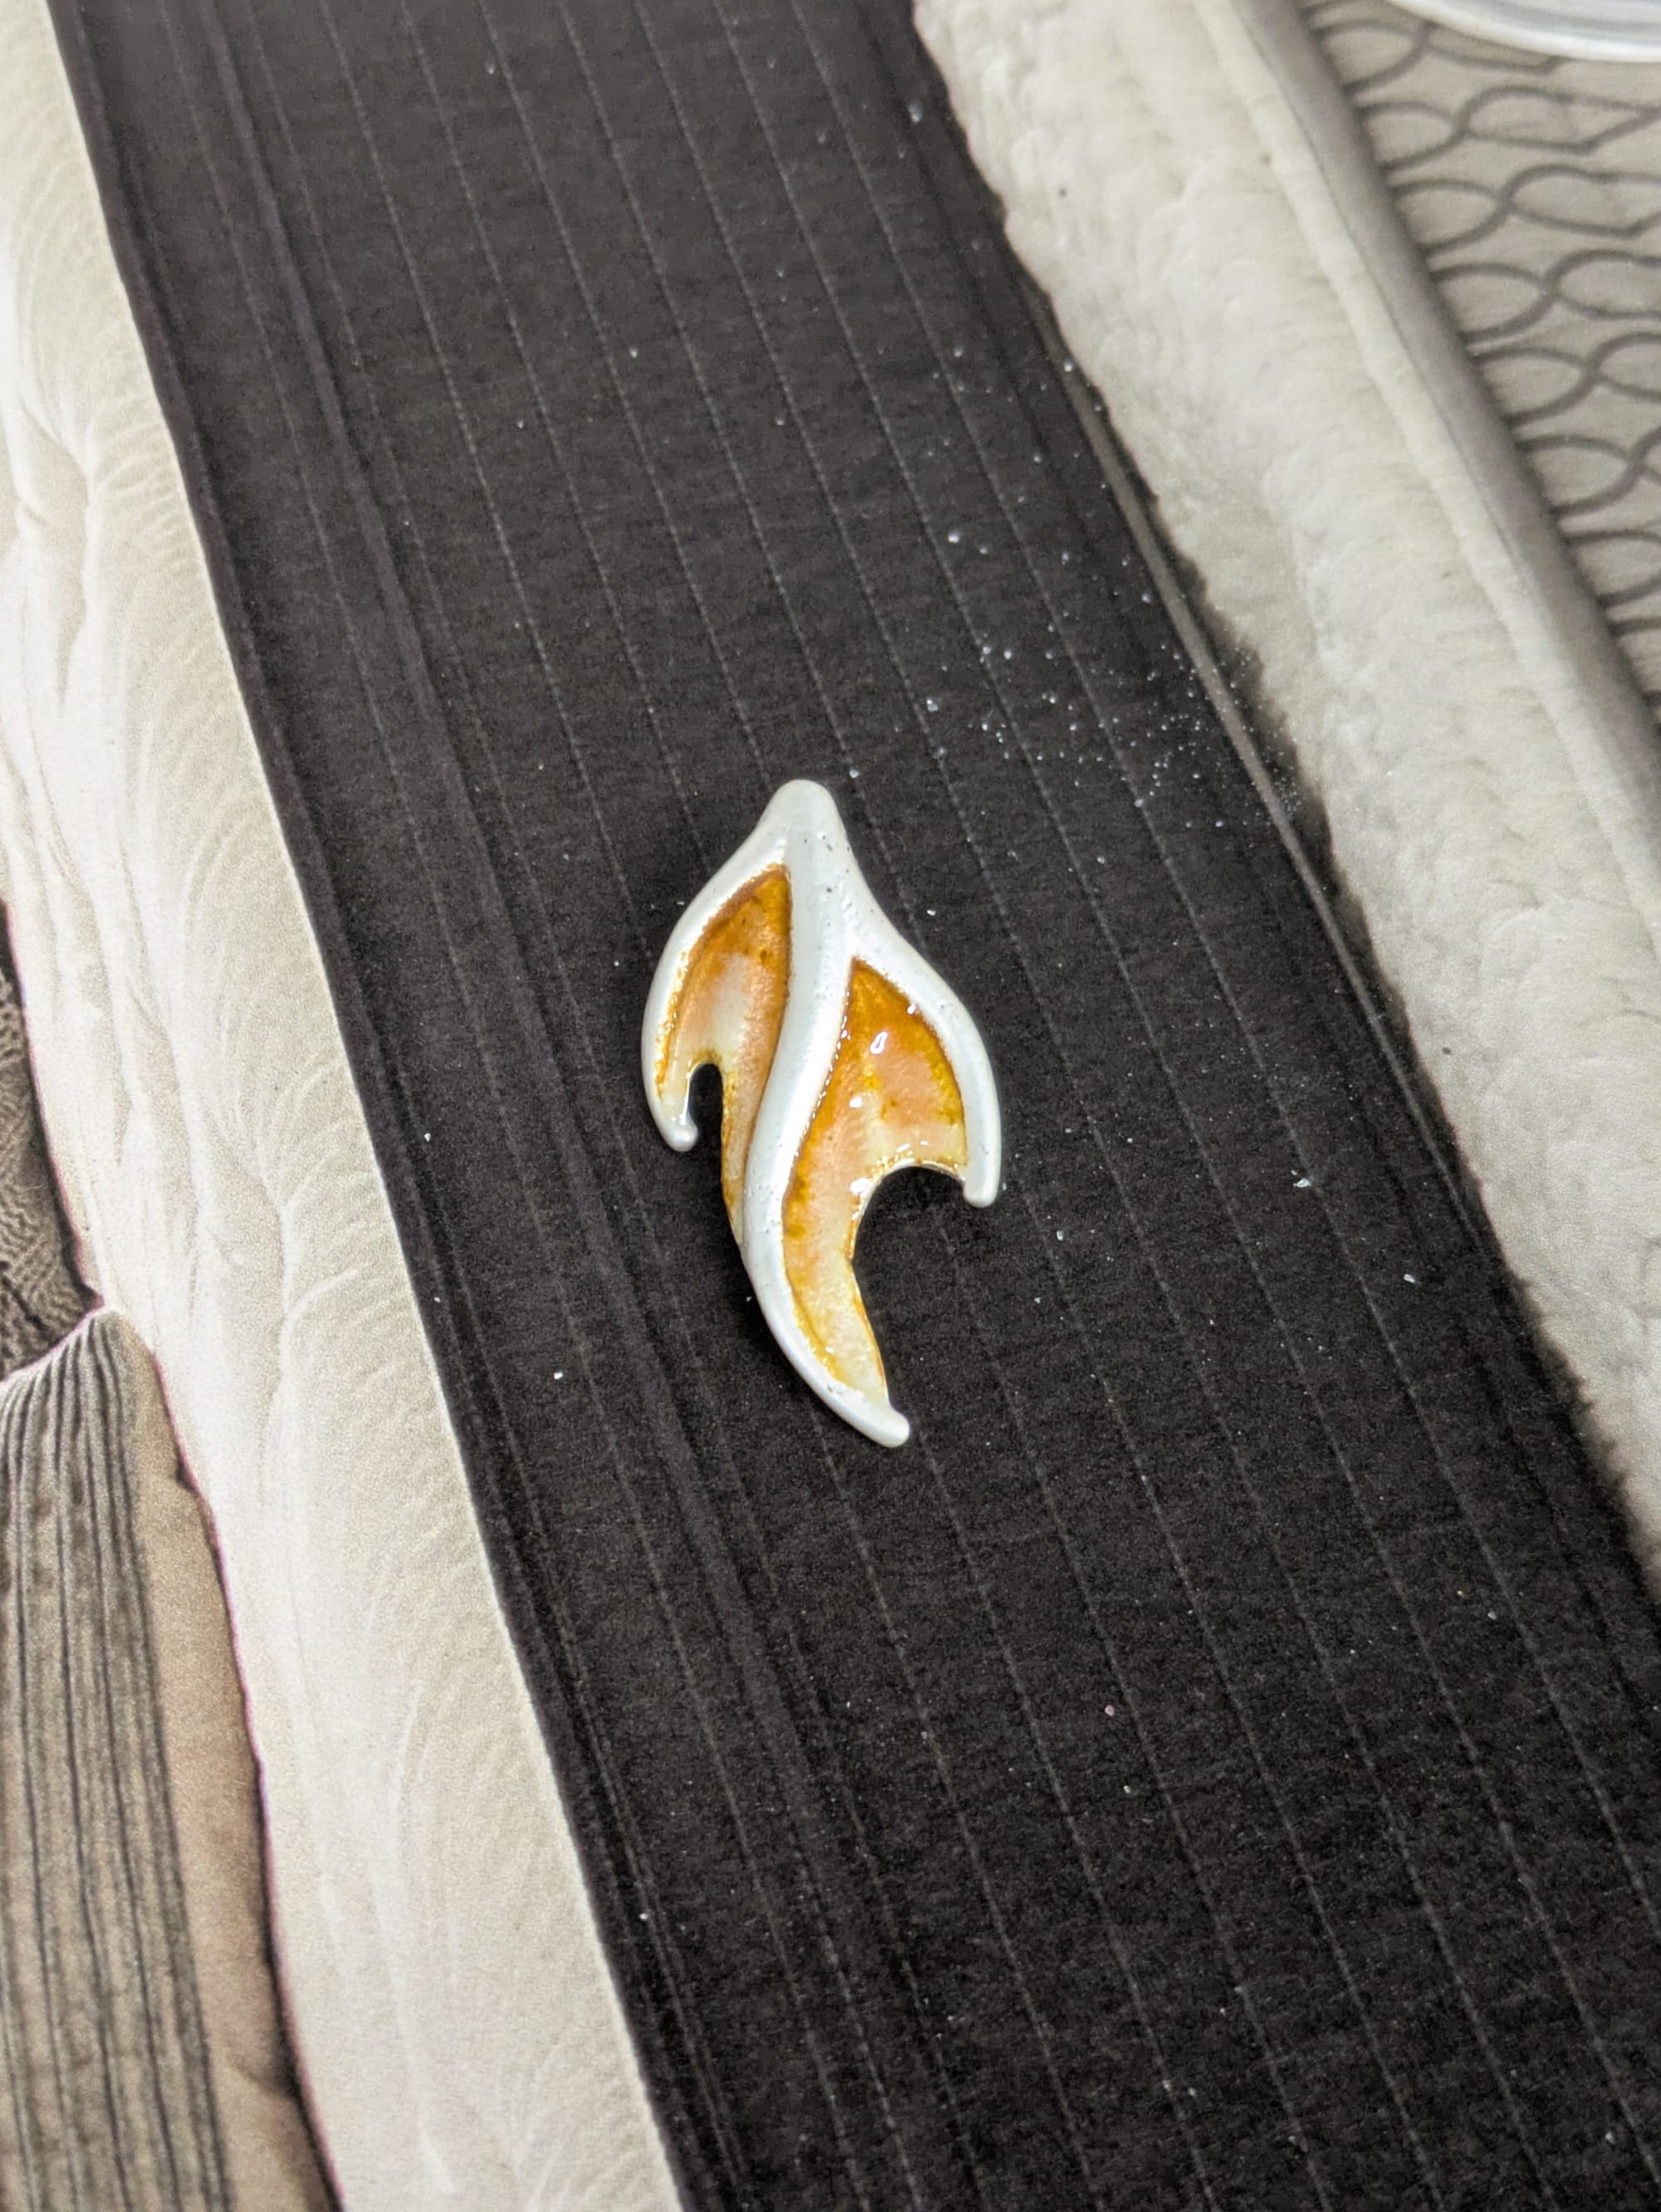
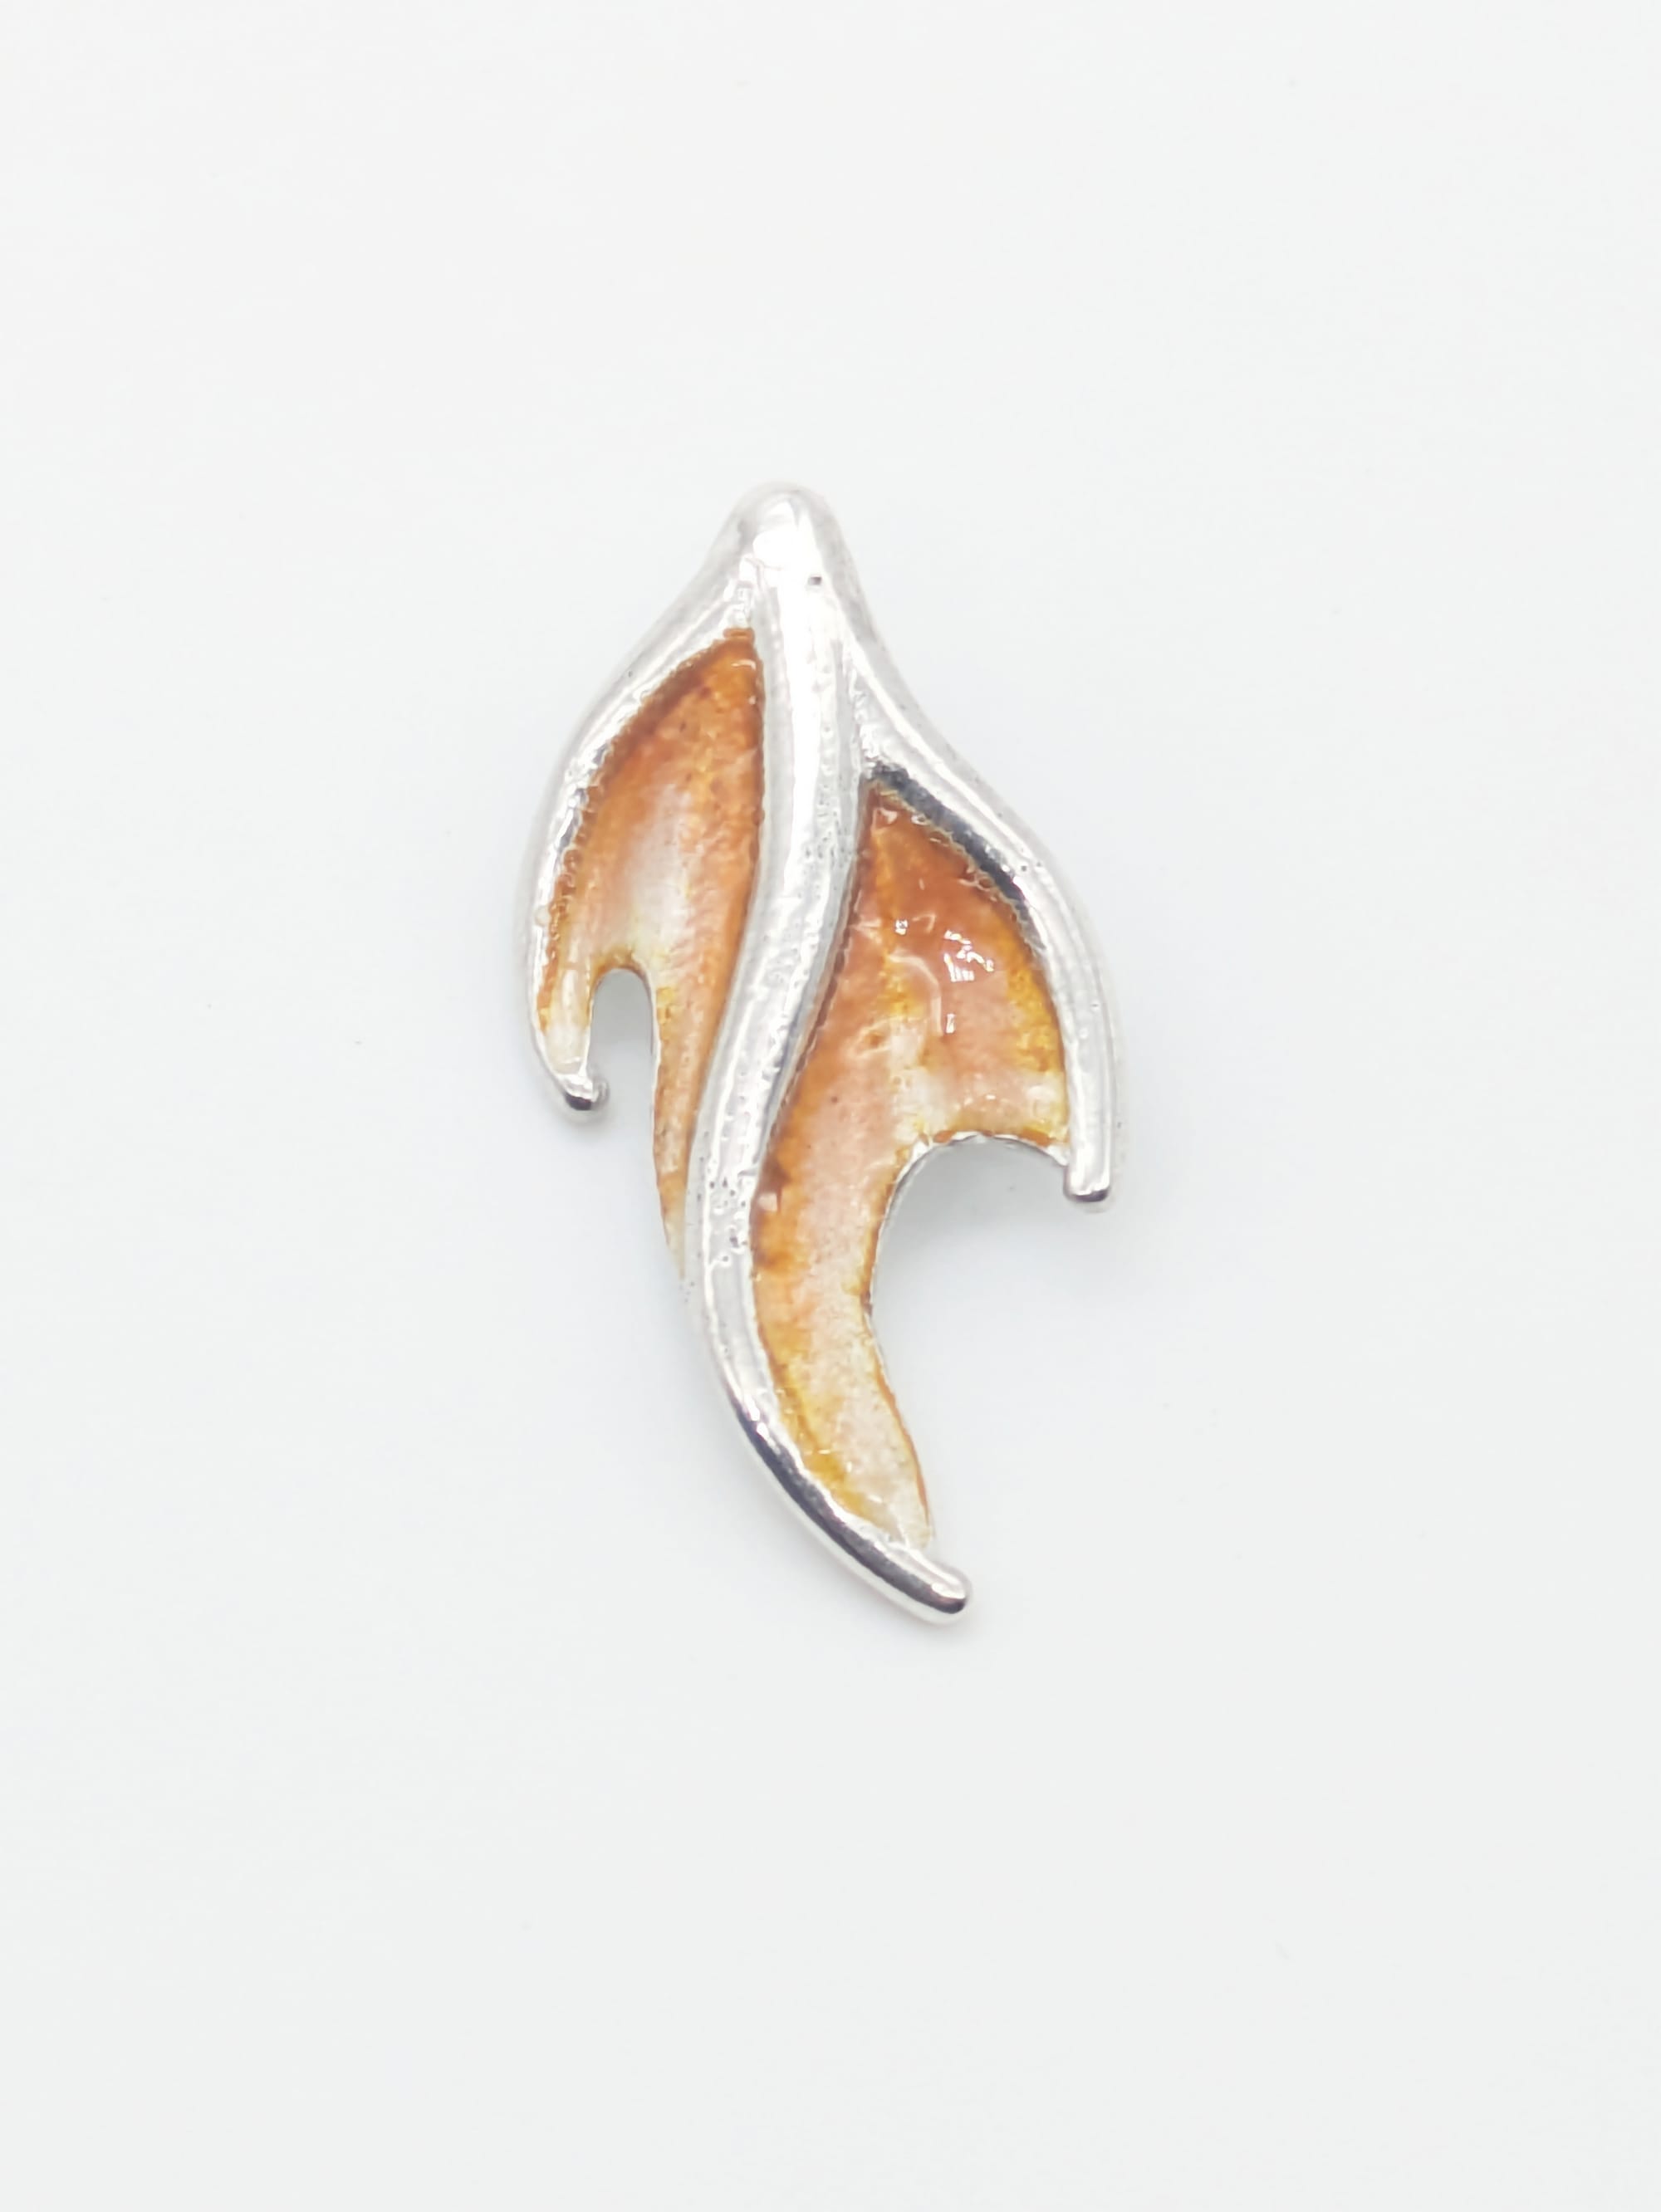
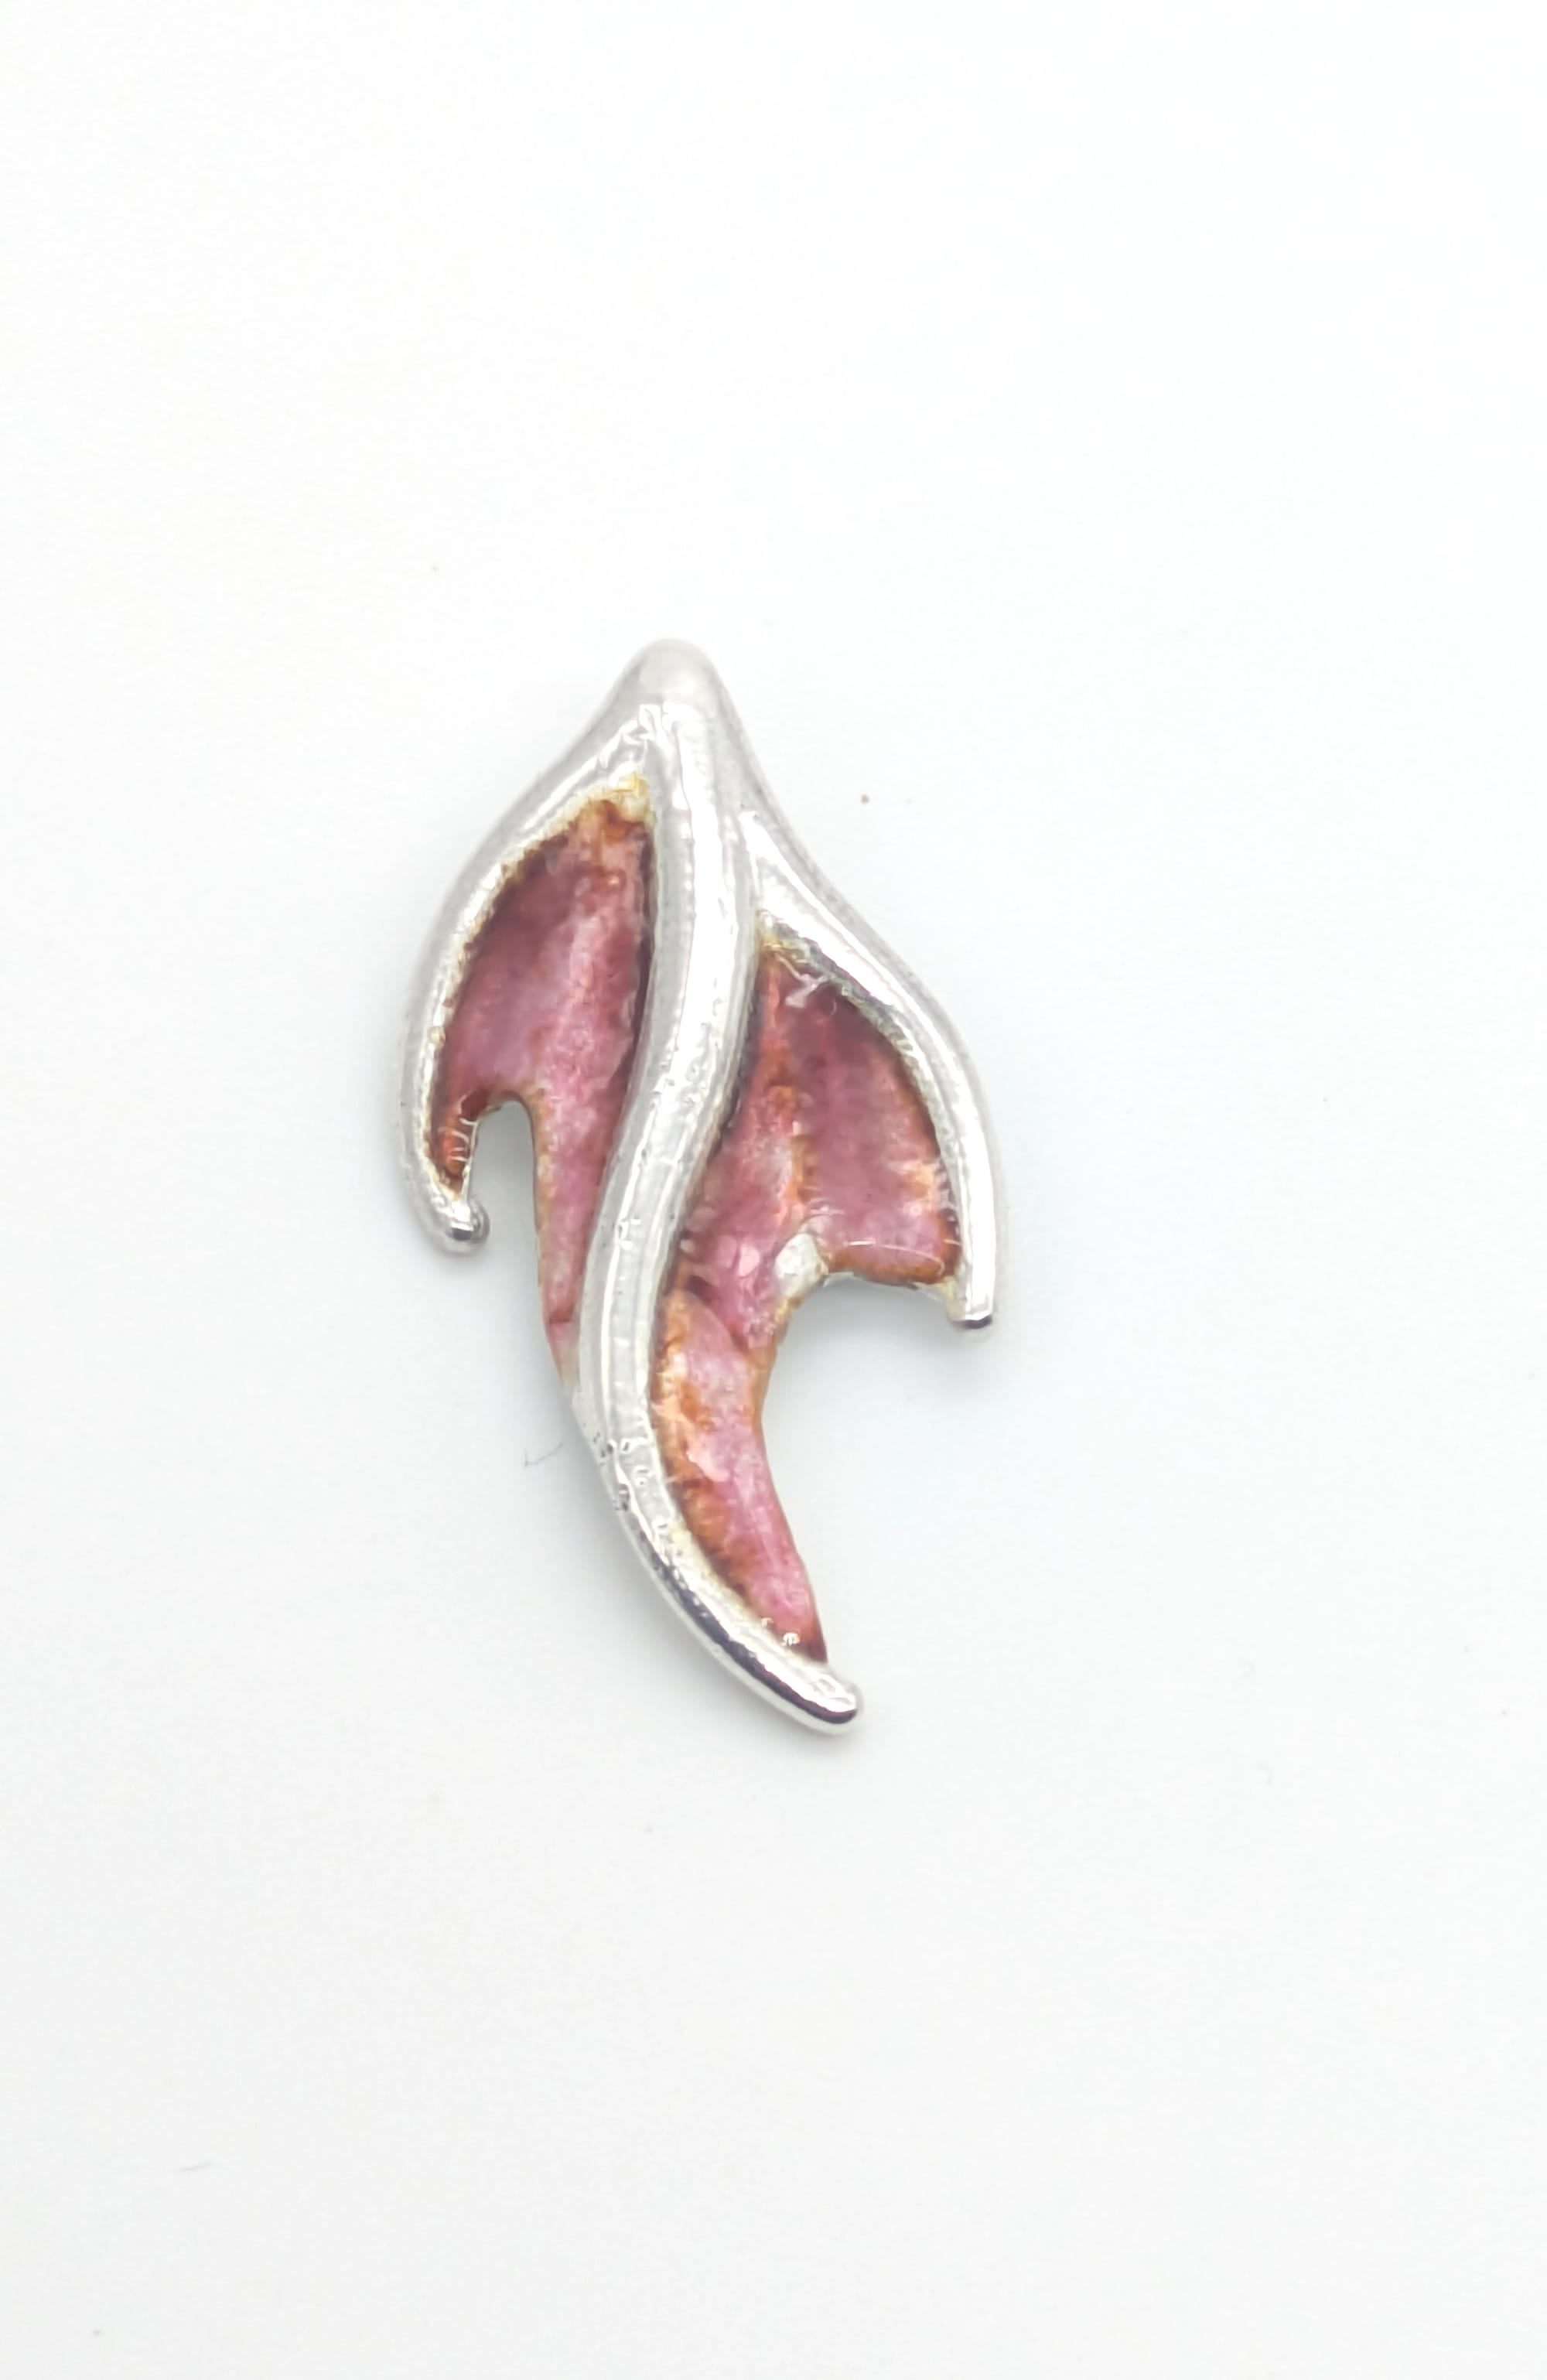
Three photos from enameling lab, of a sterling silver pendant using legacy Thompson enamels 755 Orange and 750 Peach
A second pendant from enamel lab; again in sterling silver with a clear flux base coat. This time I was applying the colors as separate layers instead of both at the same time. If I had stopped after the very first color layer I think I would have loved this: the orange originally had a sharp edge, but was itself a pale transparent color. It had the look of an orange and white koi fish.
But, I was in lab to experiment! So another 2 layers were fused on. This one didn't get quite as muddy as the pink one, but I did lose that nice sharp line. There is a little bit of a dark outline along the sides of the enamel, where the top layer of color is touching silver wall instead of clear flux.

I did try applying clear flux to one pair of mini SeaDragons. These are fine silver (except for the earring post, which needs to be sterling for added strength) and have a single layer of clear flux, then a single layer of Dark Rose pink enamel. The enamel is thicker and gloopier than I like, but not to the extent that it ruins the earrings. You can see a yellowish halo around the pink; this is where the colored enamel is touching tall silver sidewalls that weren't covered with the clear coat and reacting.
Experiments will continue - I am hoping for a red-orange-yellow fire effect eventually!