This weekend past I took a class at The Crucible (as a student!) to brush up on my plique-a-jour.
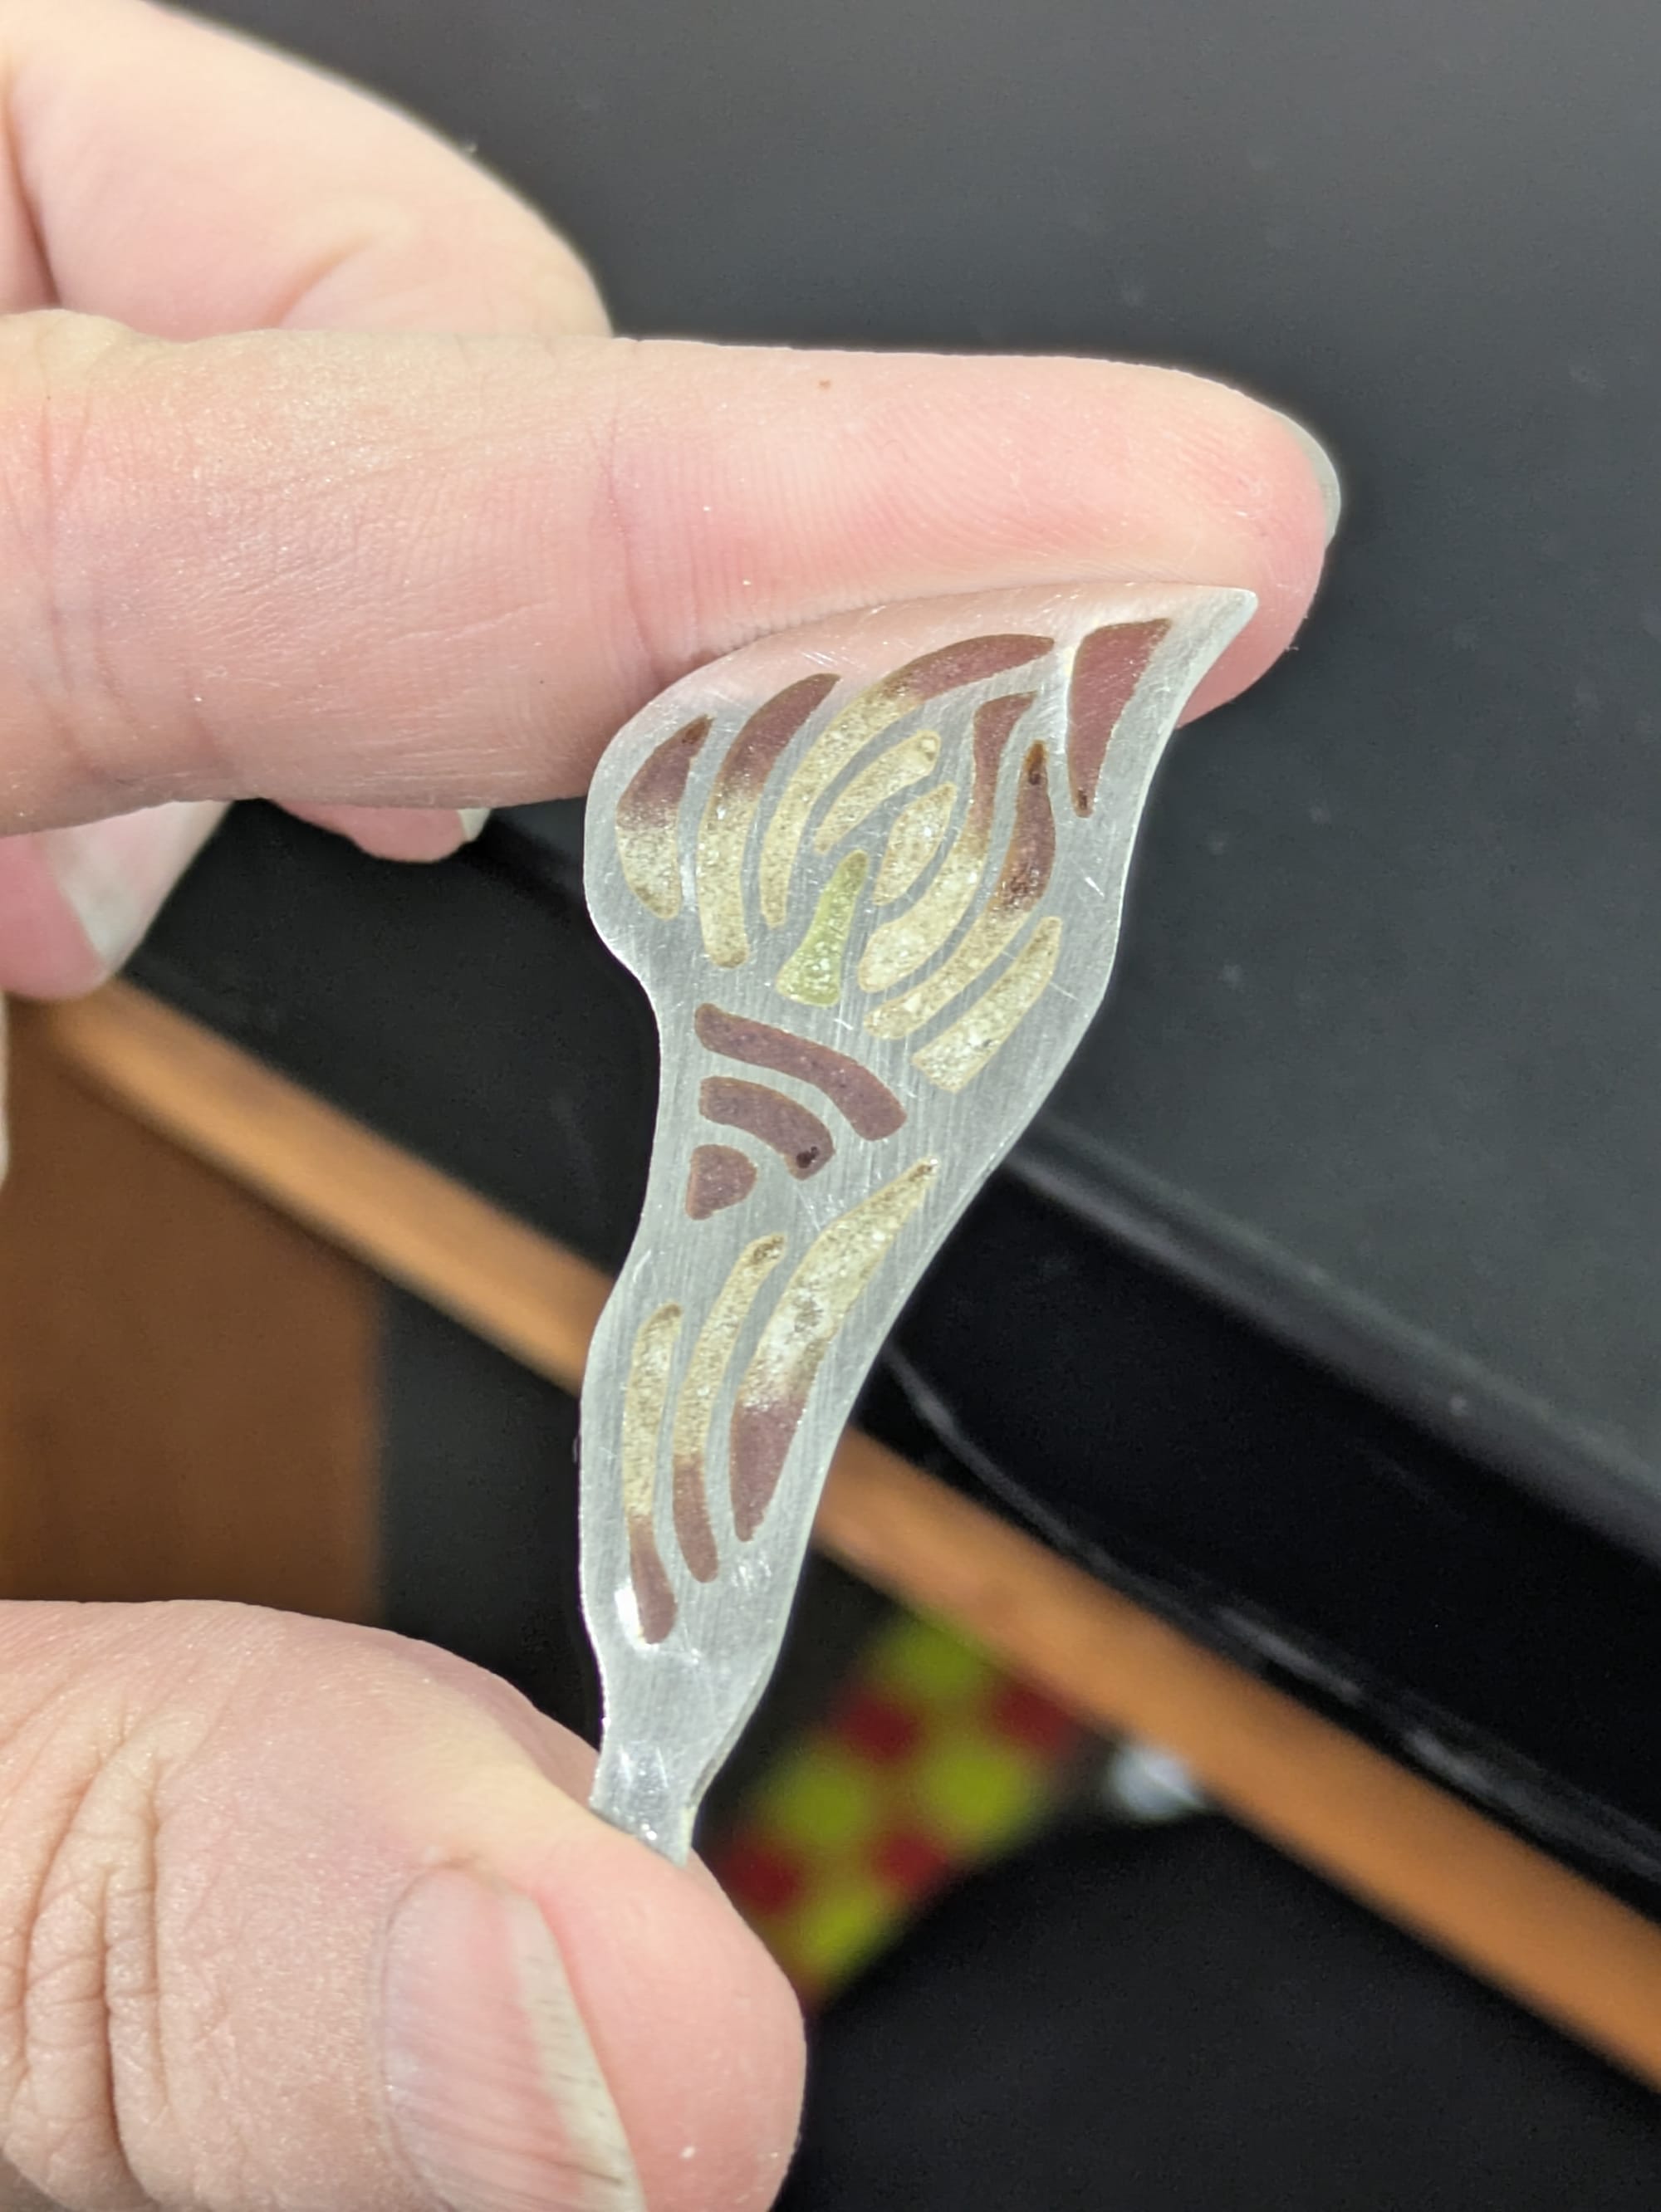
Plique-a-jour is an enameling technique that feels like a miniature stained glass window. A frame is made first, either by piercing a sheet of metal or by building one out of wire, and then the spaces are filled with transparent enamel. The magic of material science is strong in this technique, as your powdered enamels must defy gravity long enough to fuse together in the kiln.
I do not think I will use plique-a-jour very often in my work, but it was a hugely useful exercise in practicing control of the kiln and the enamels.
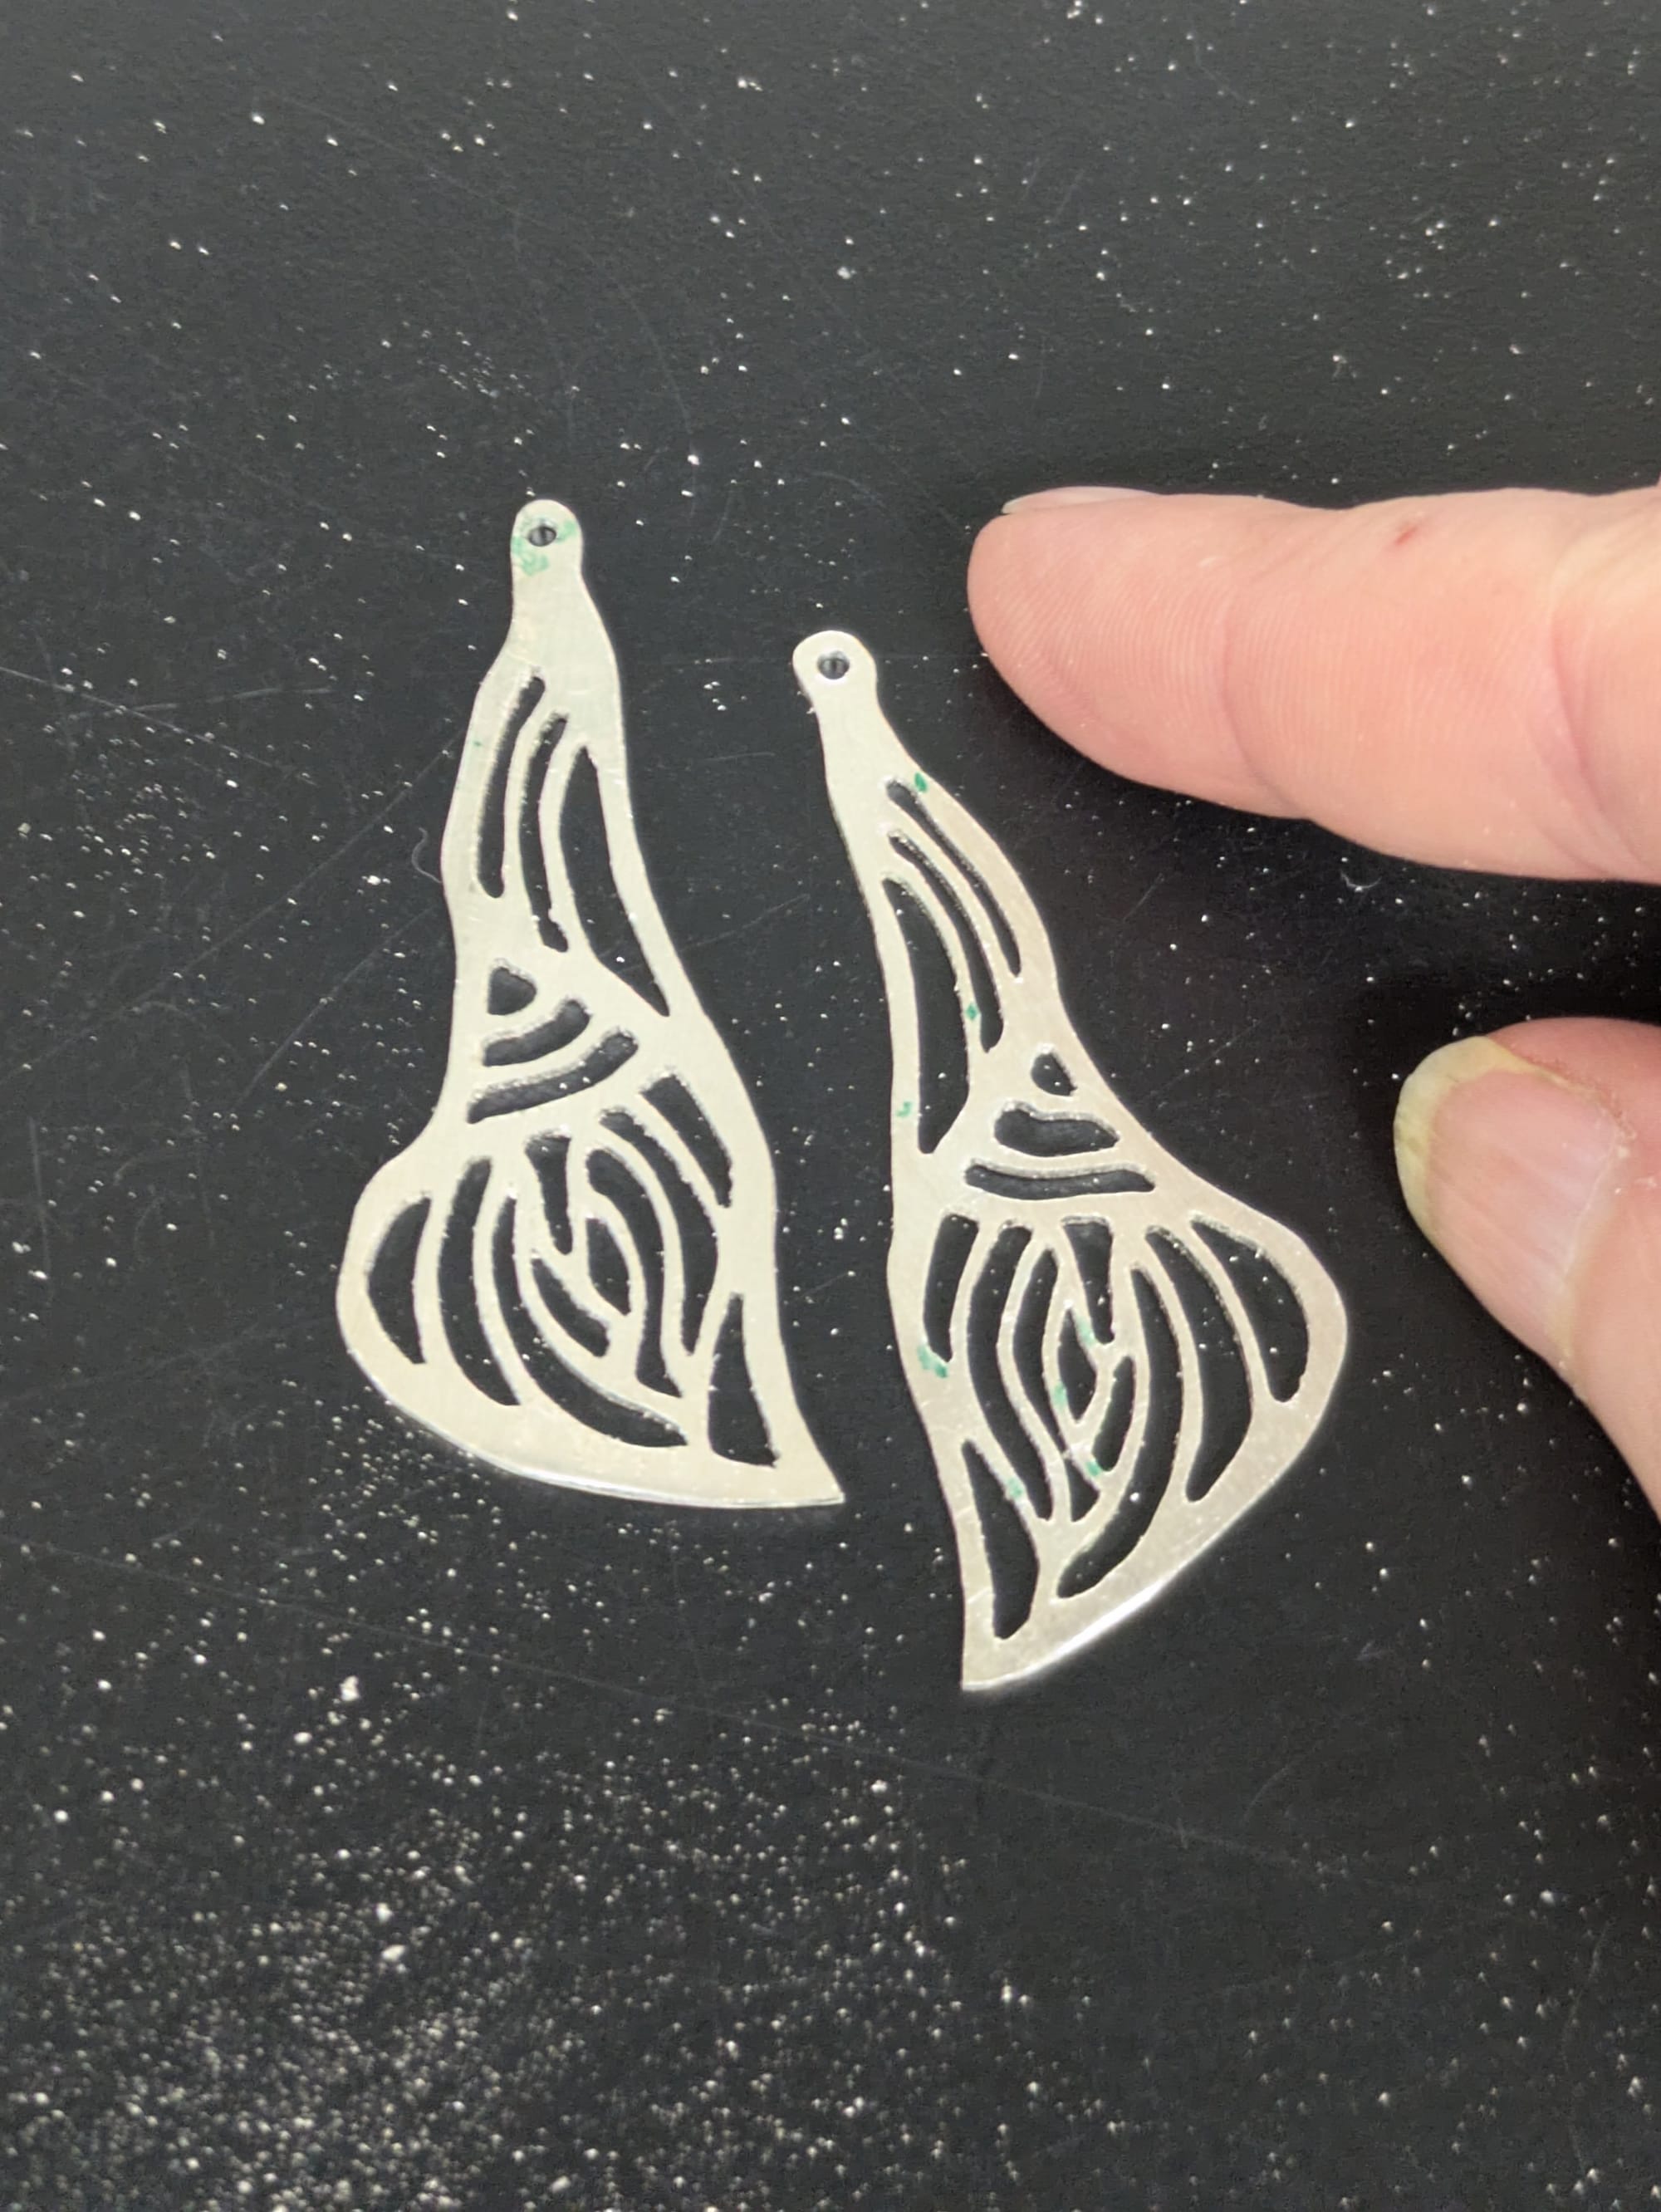
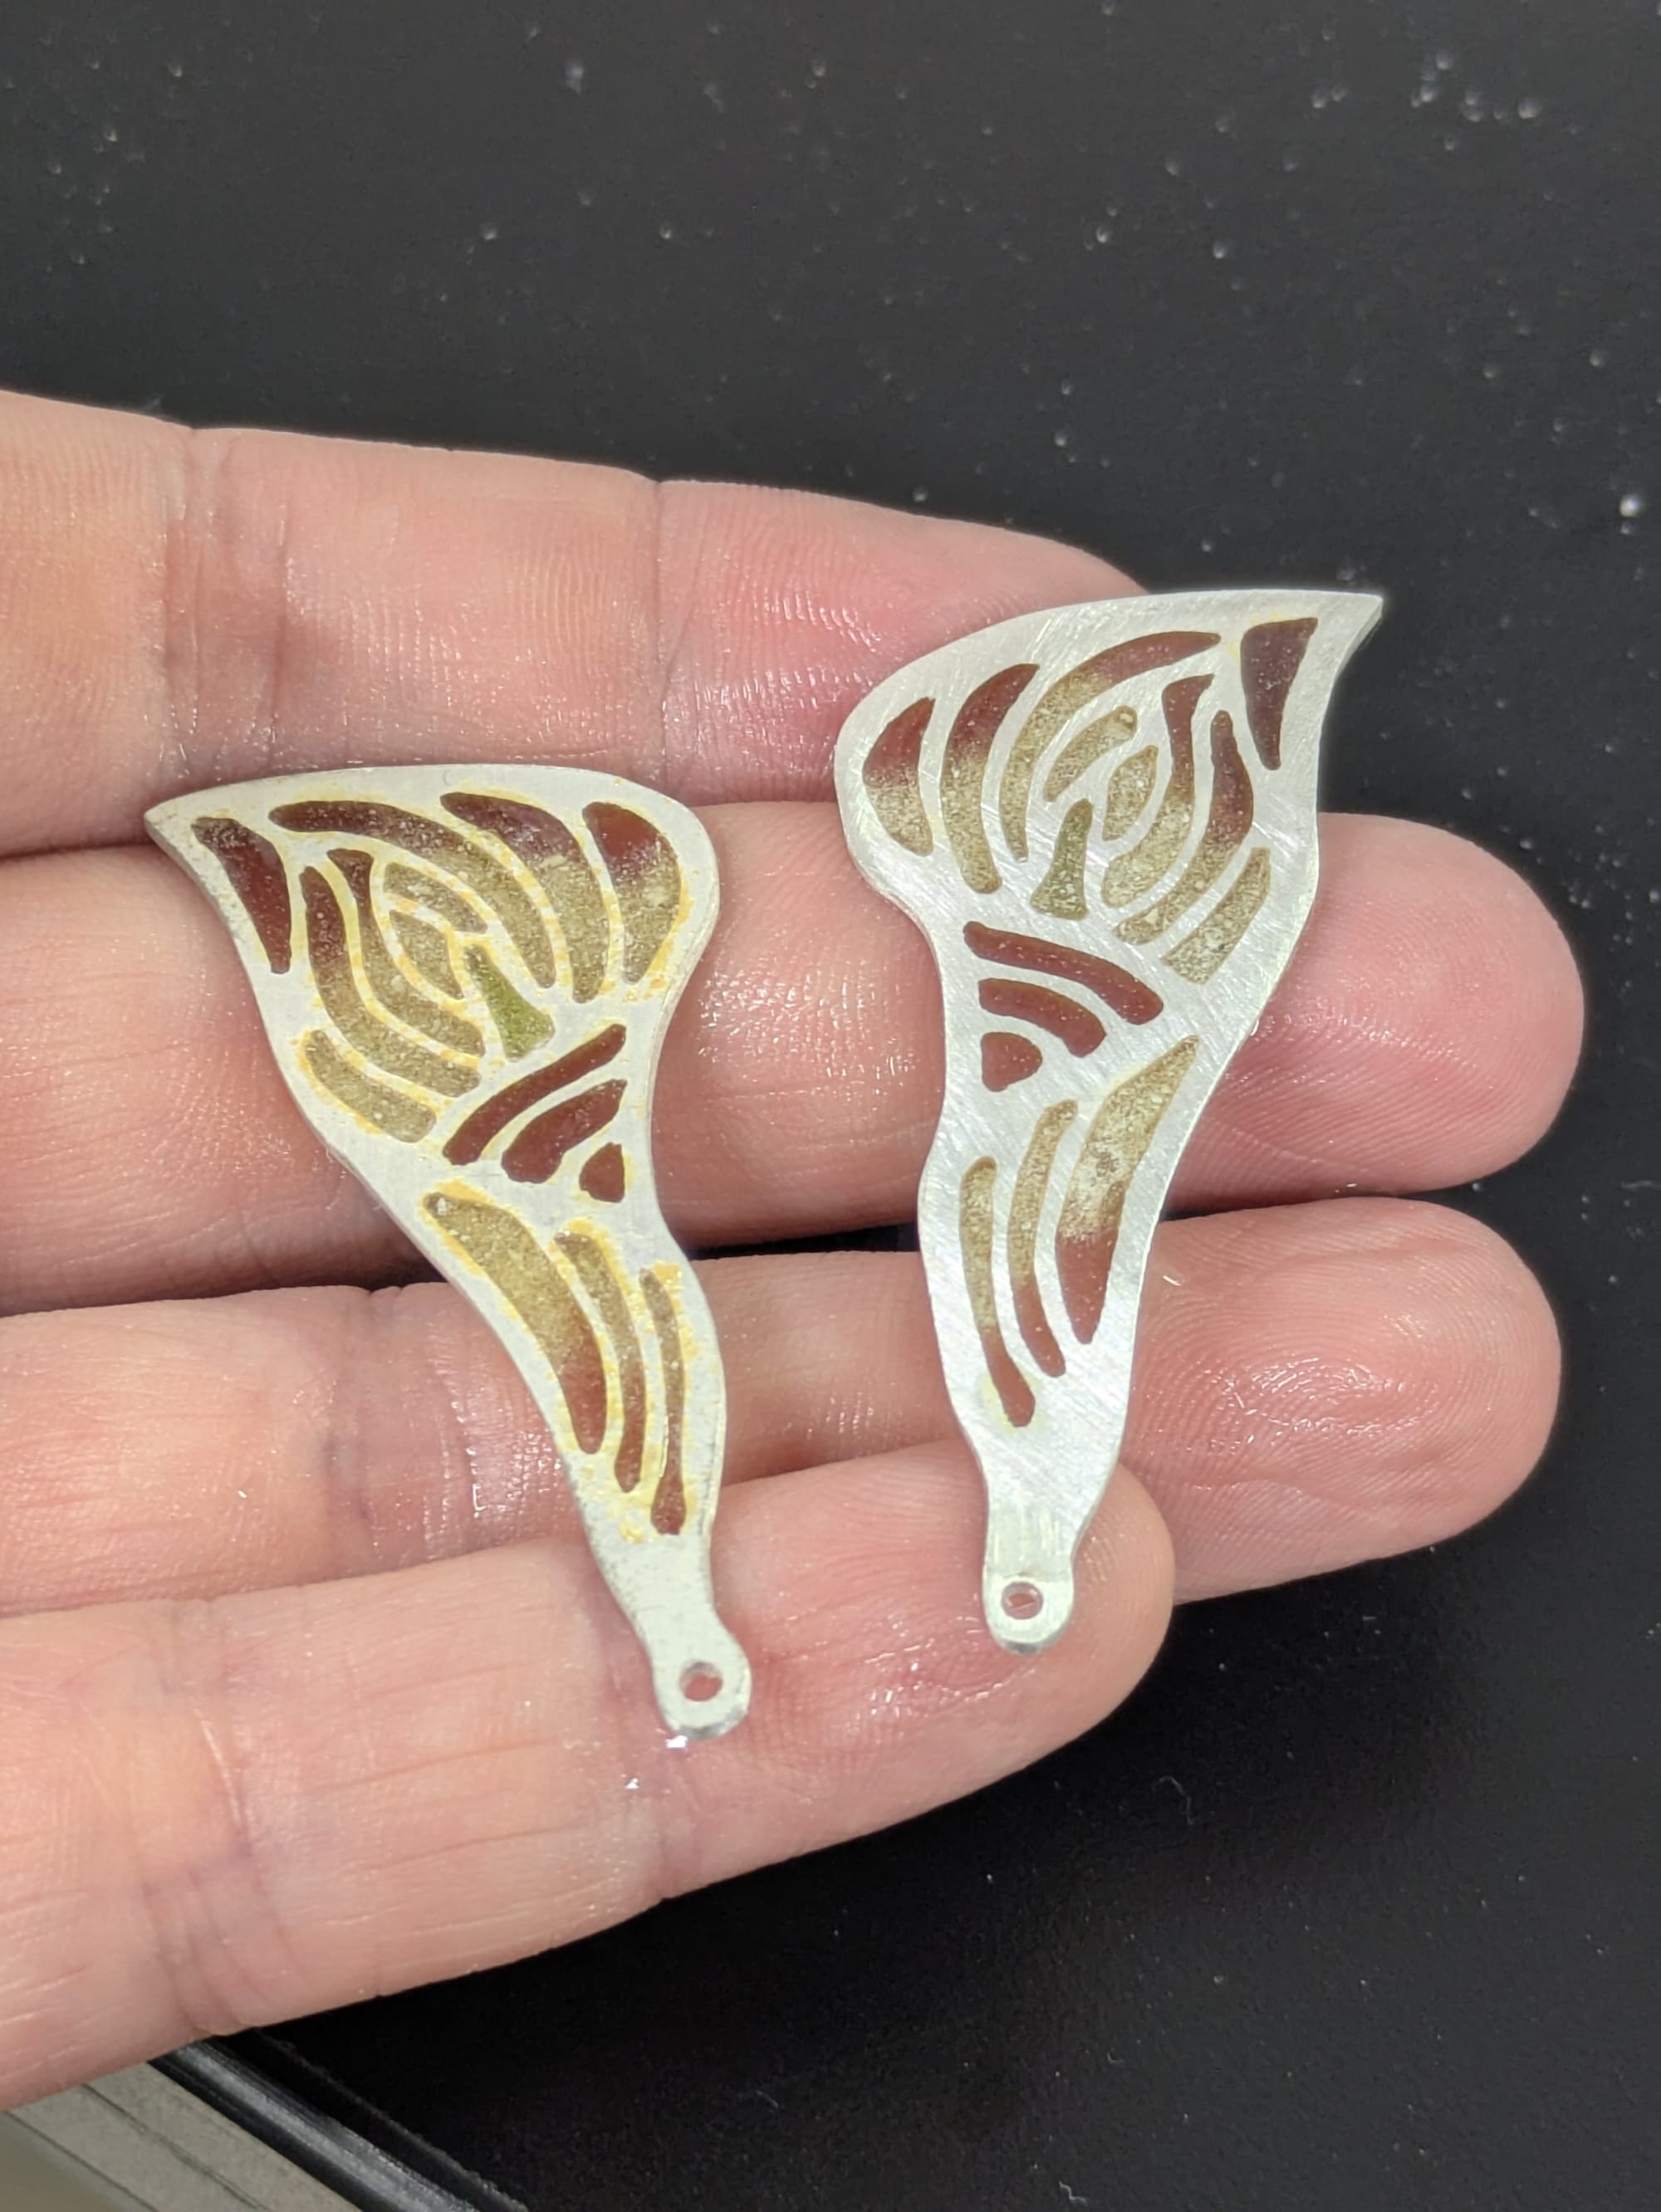
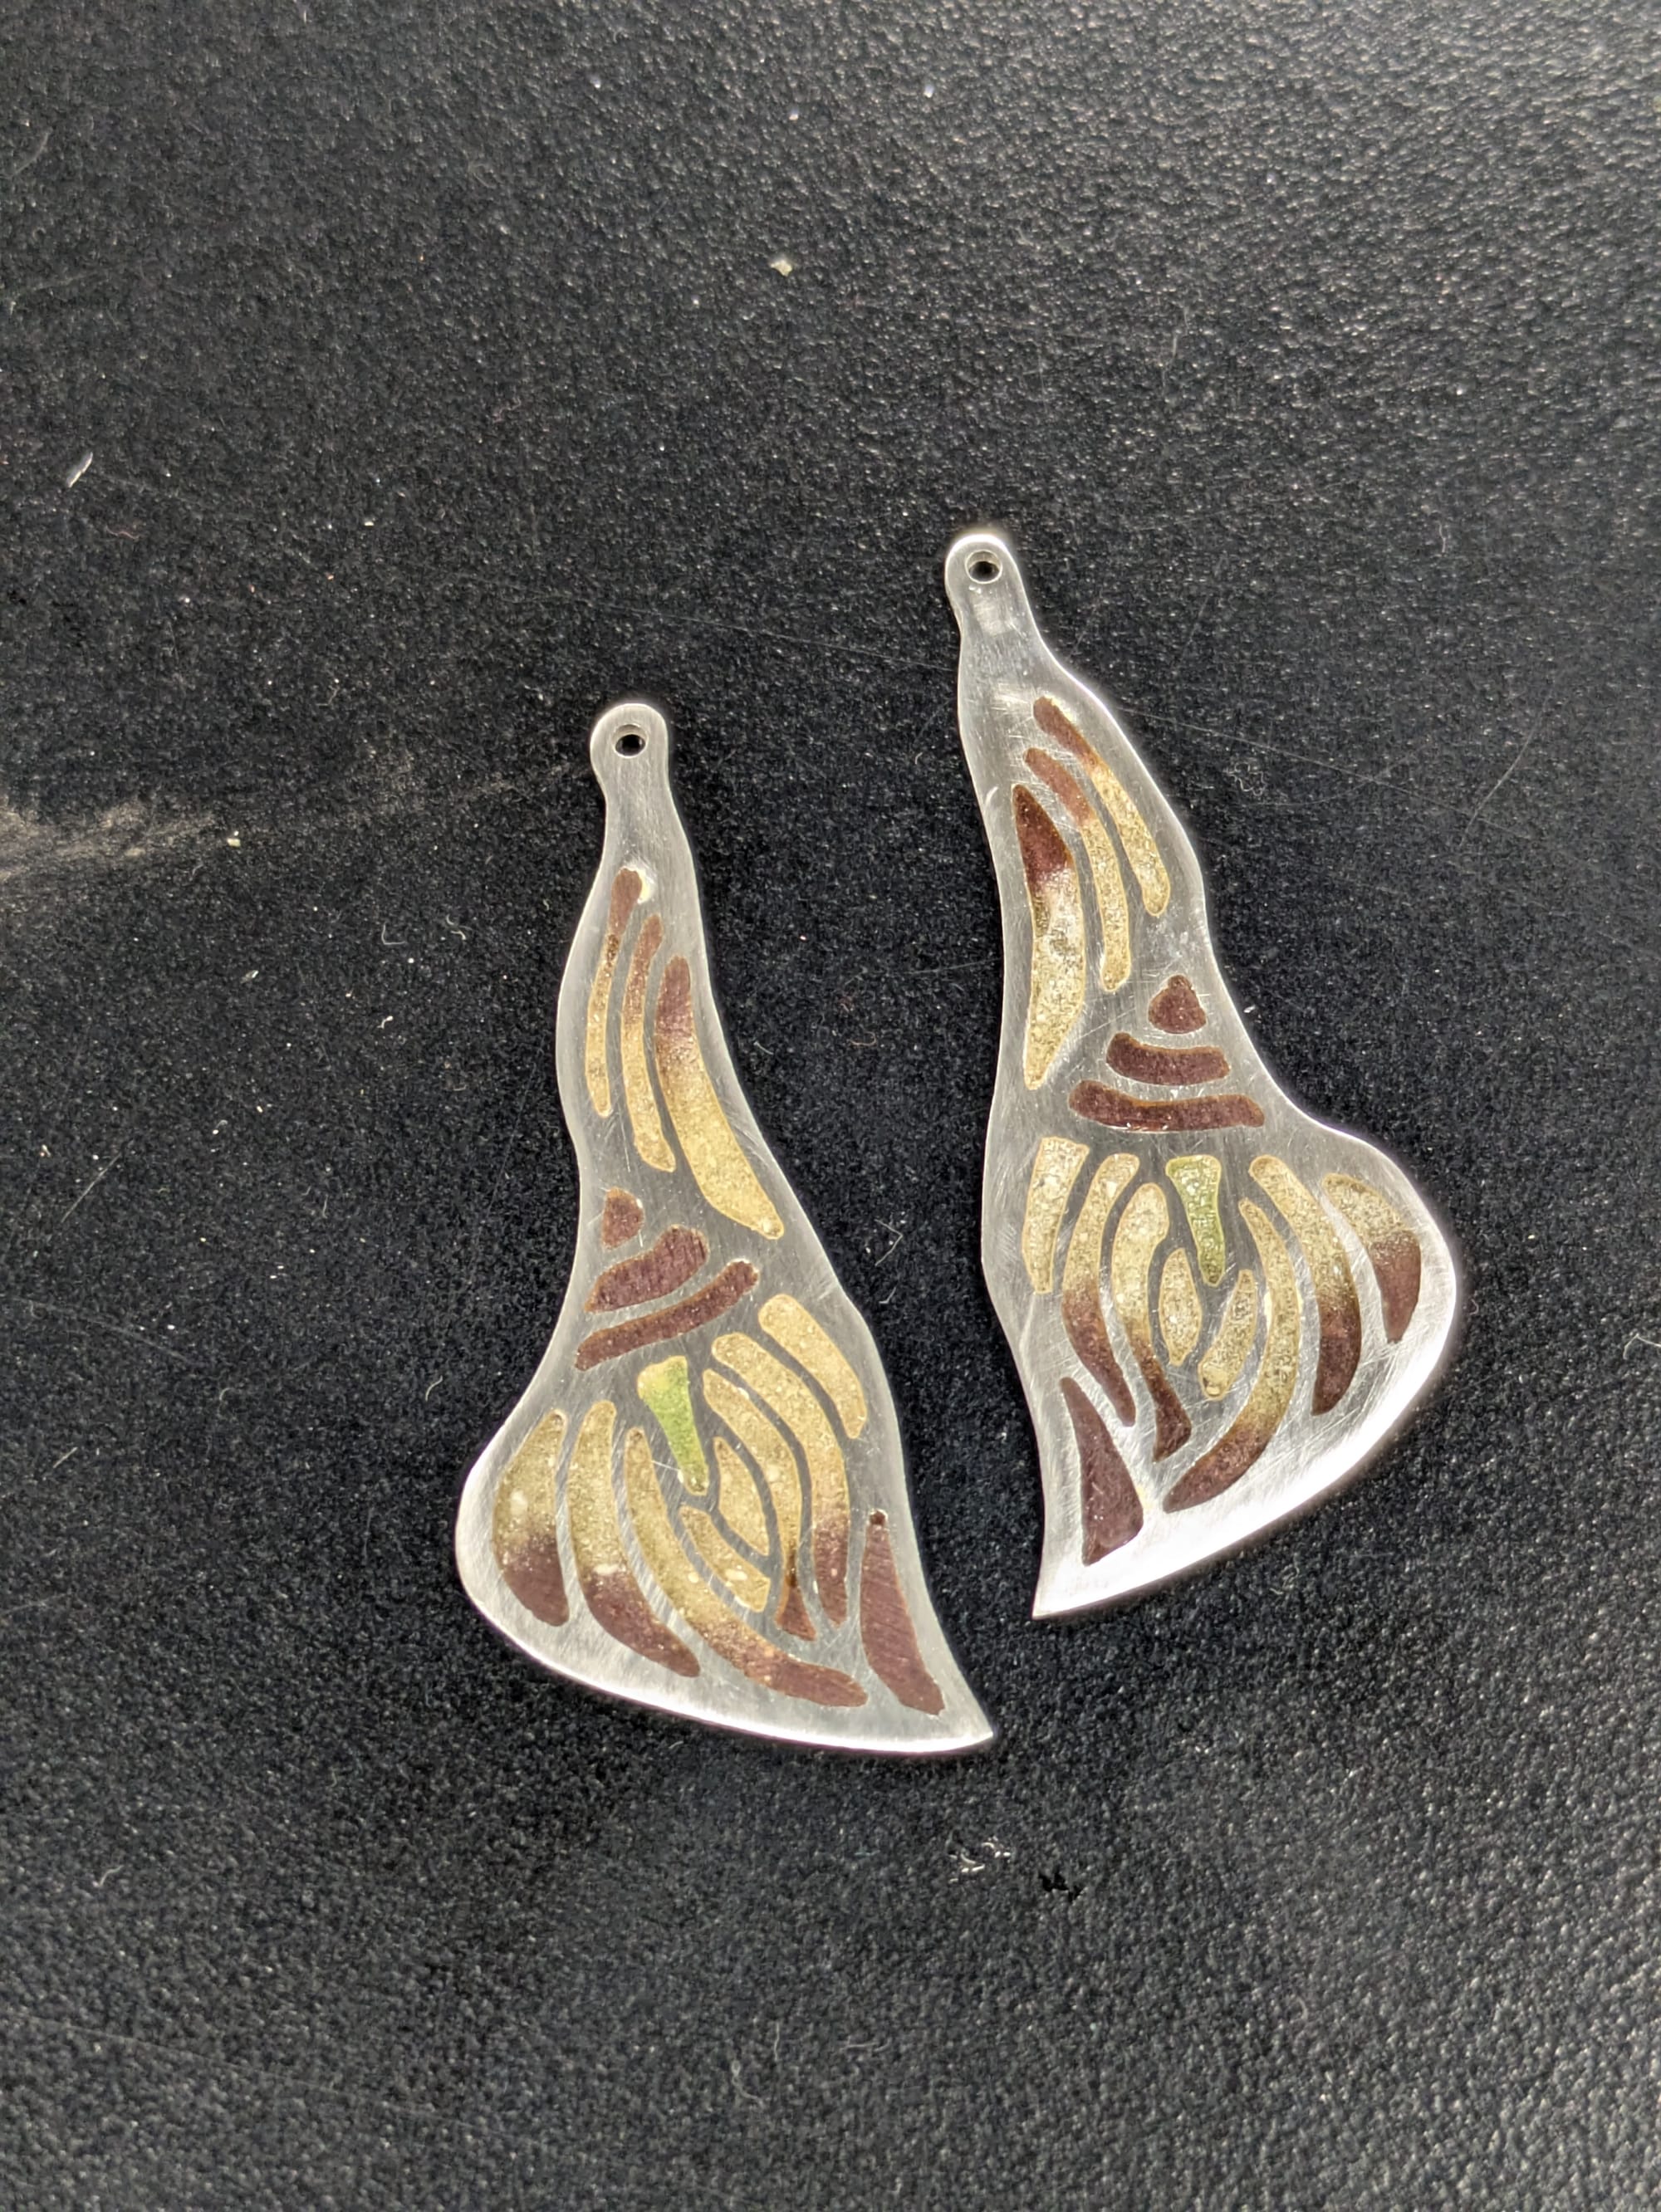
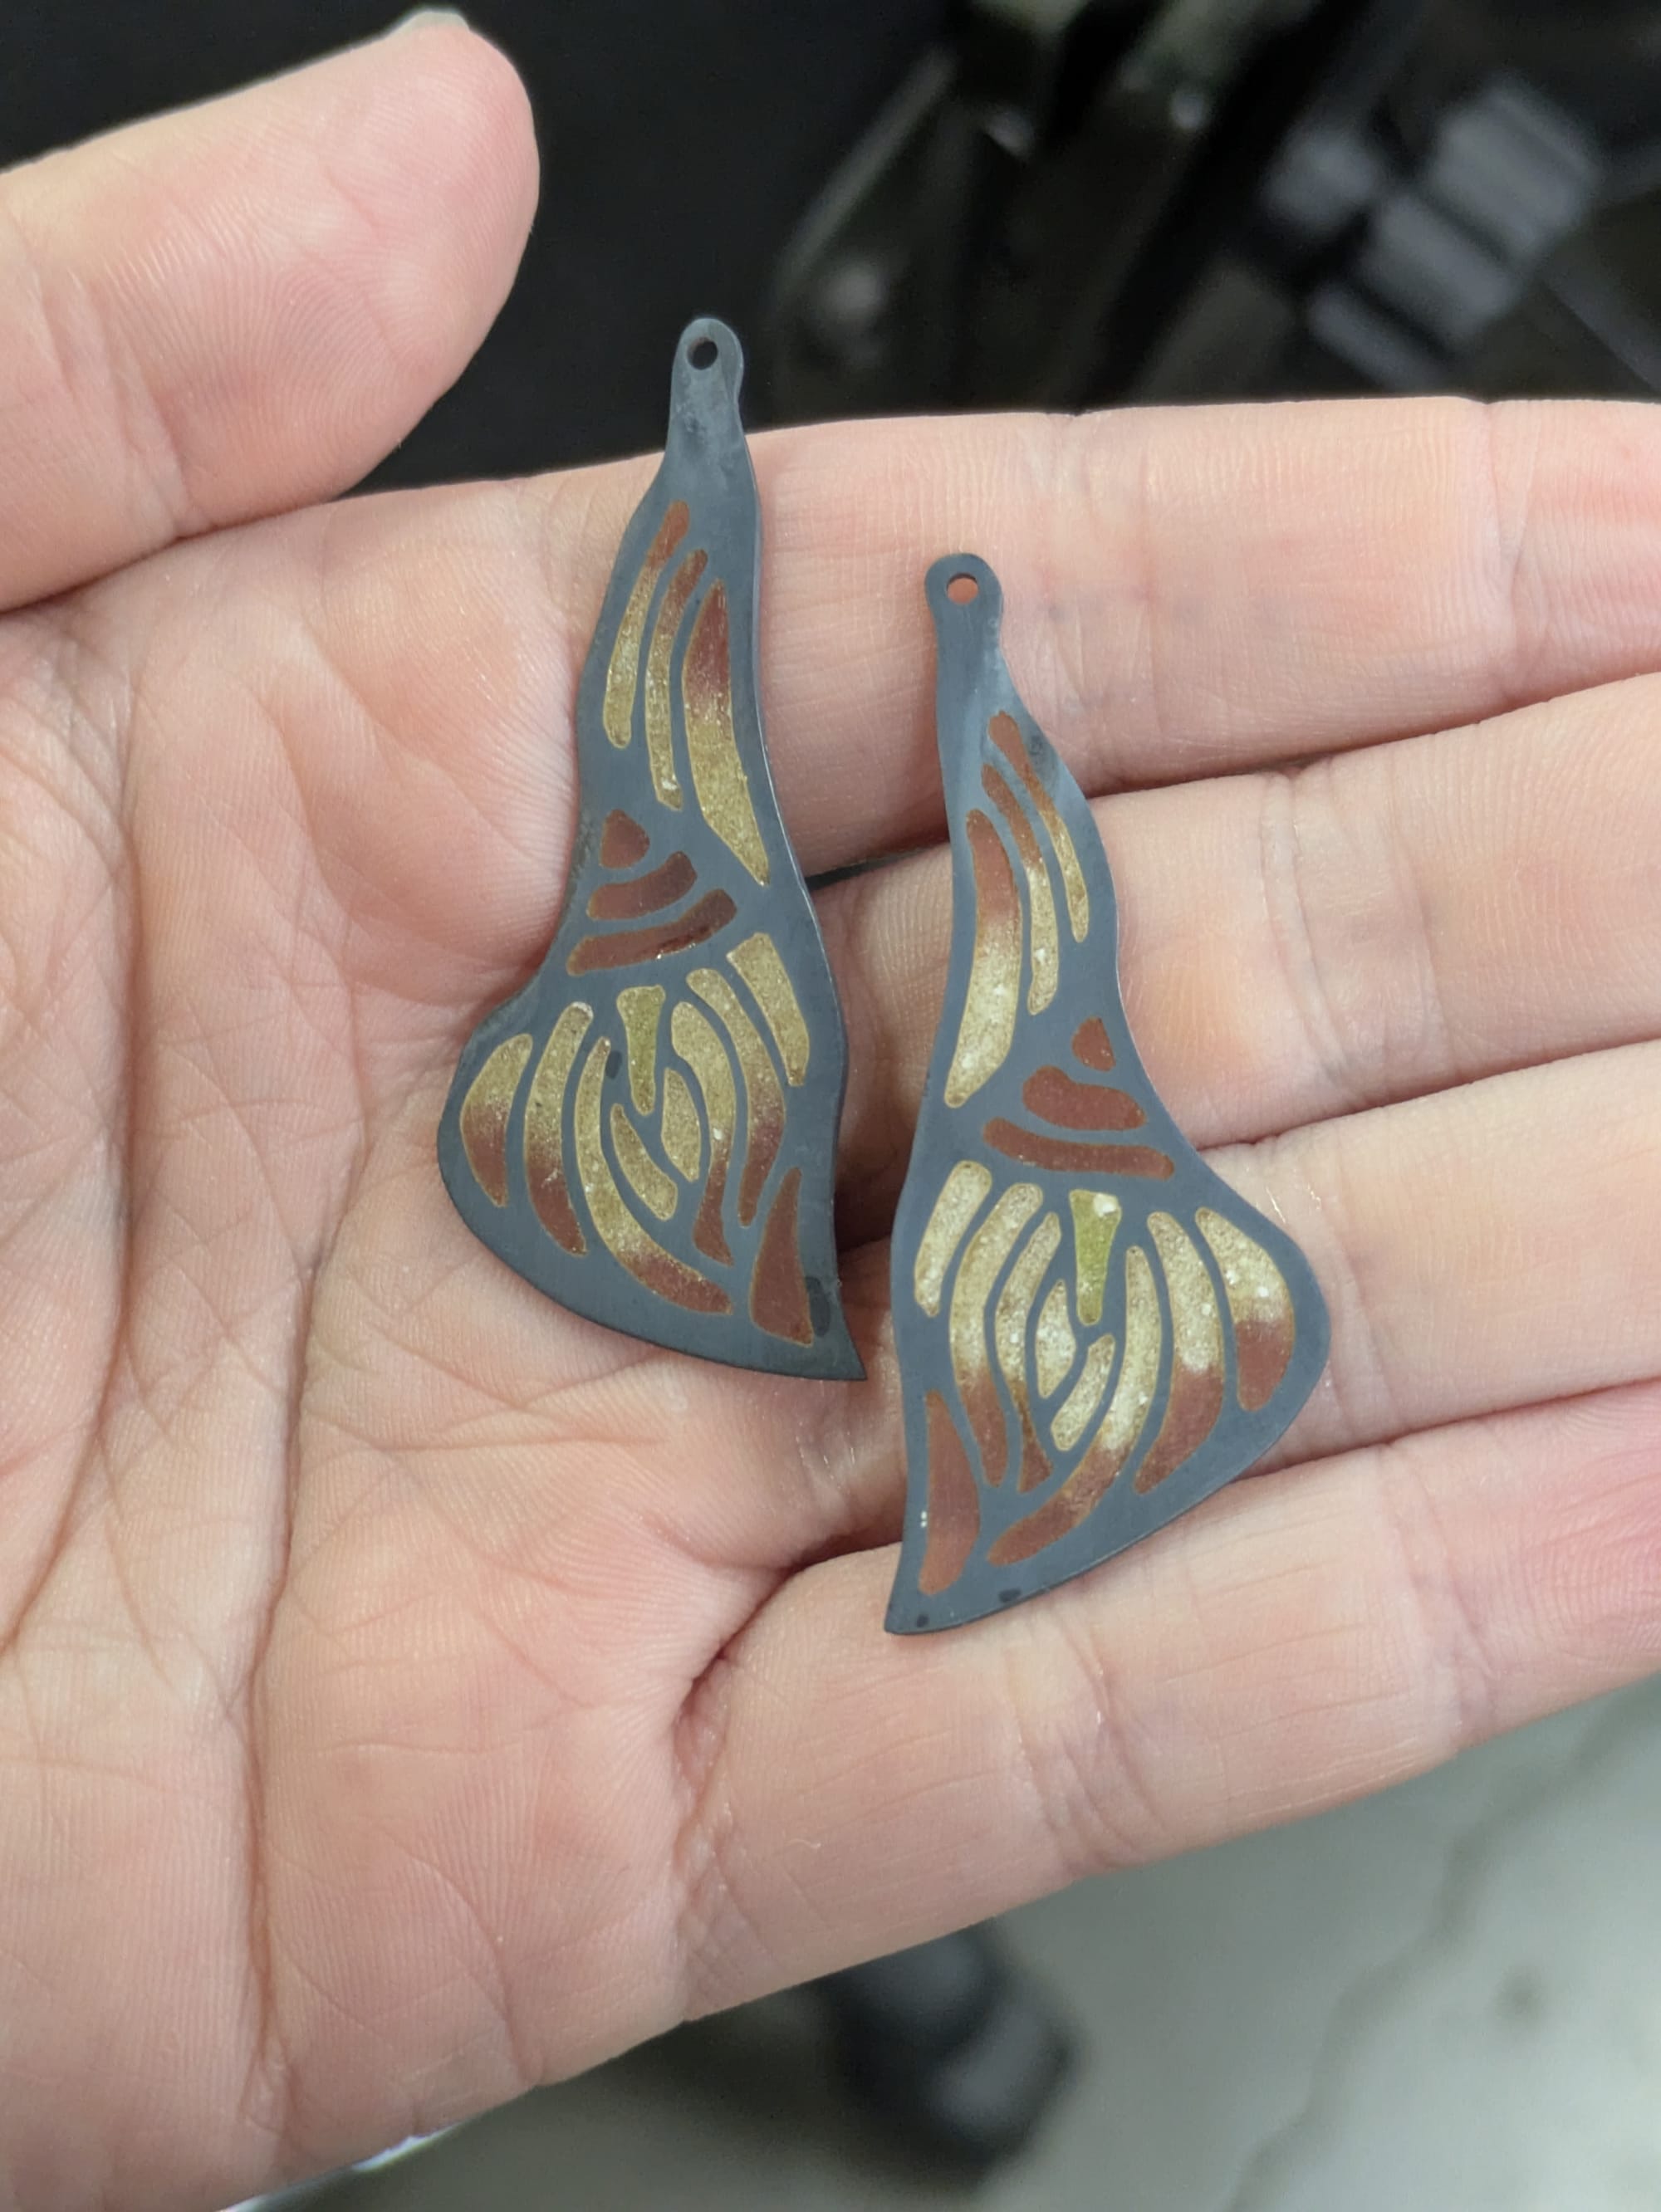
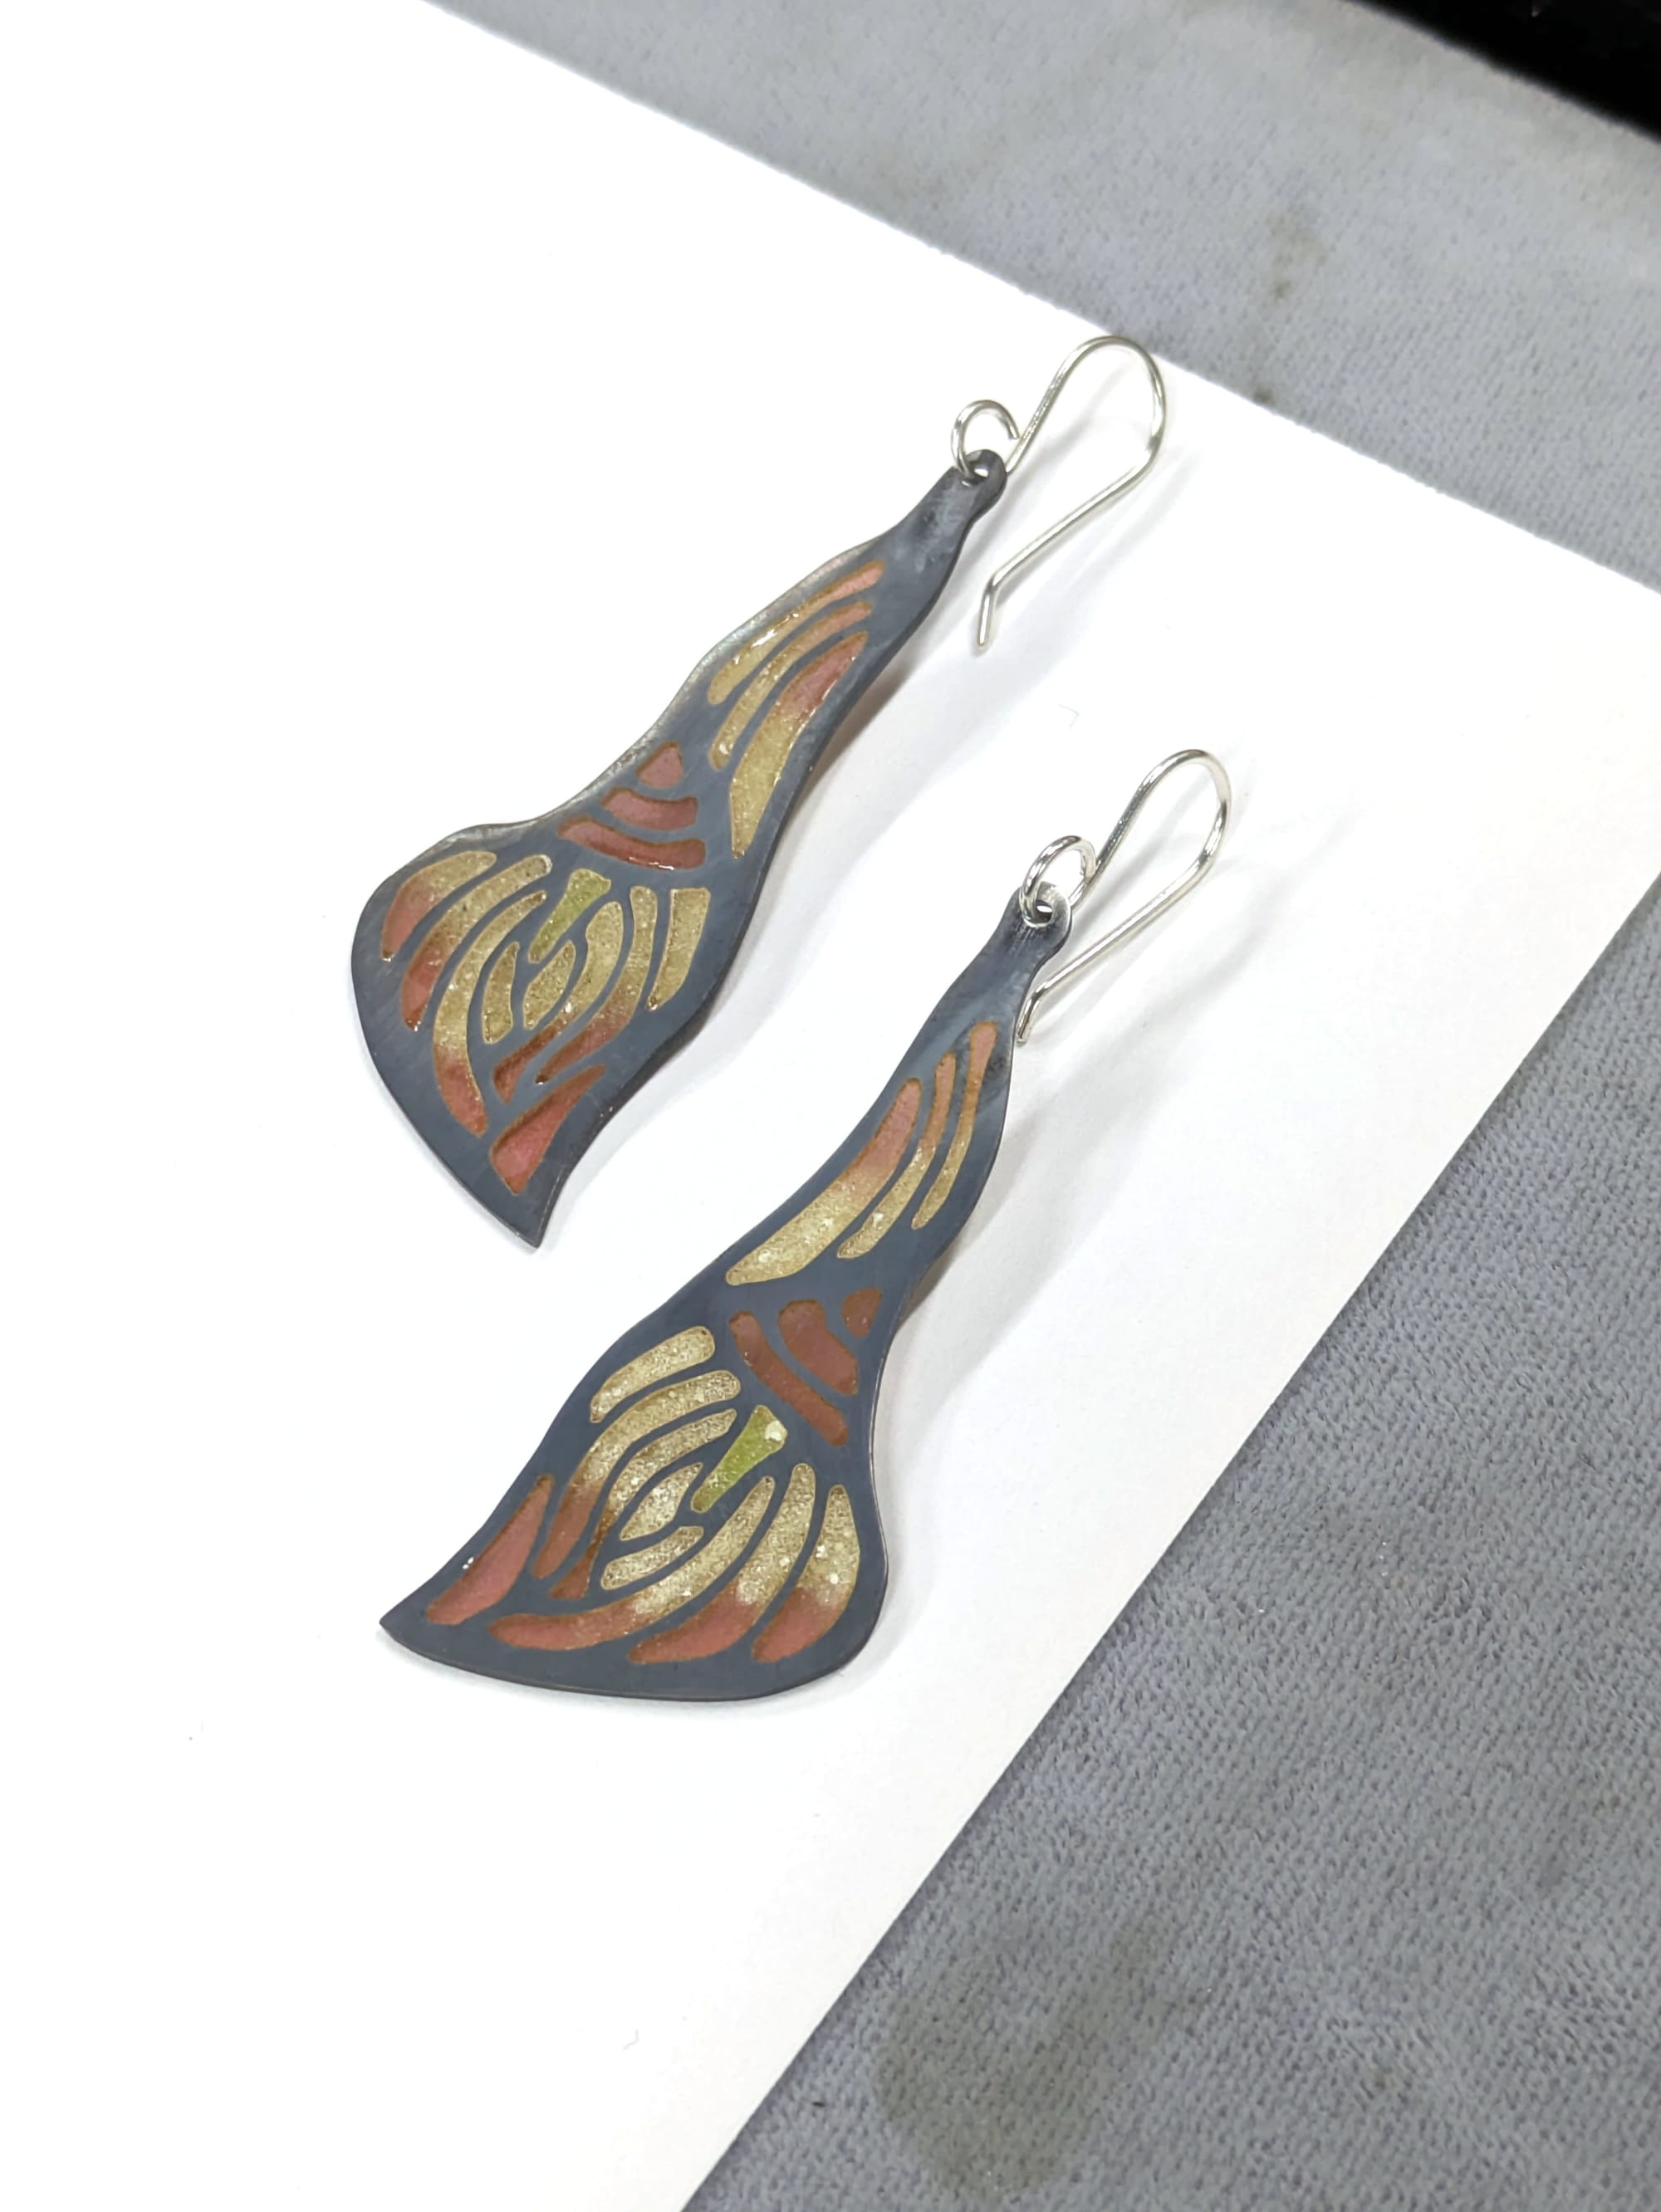
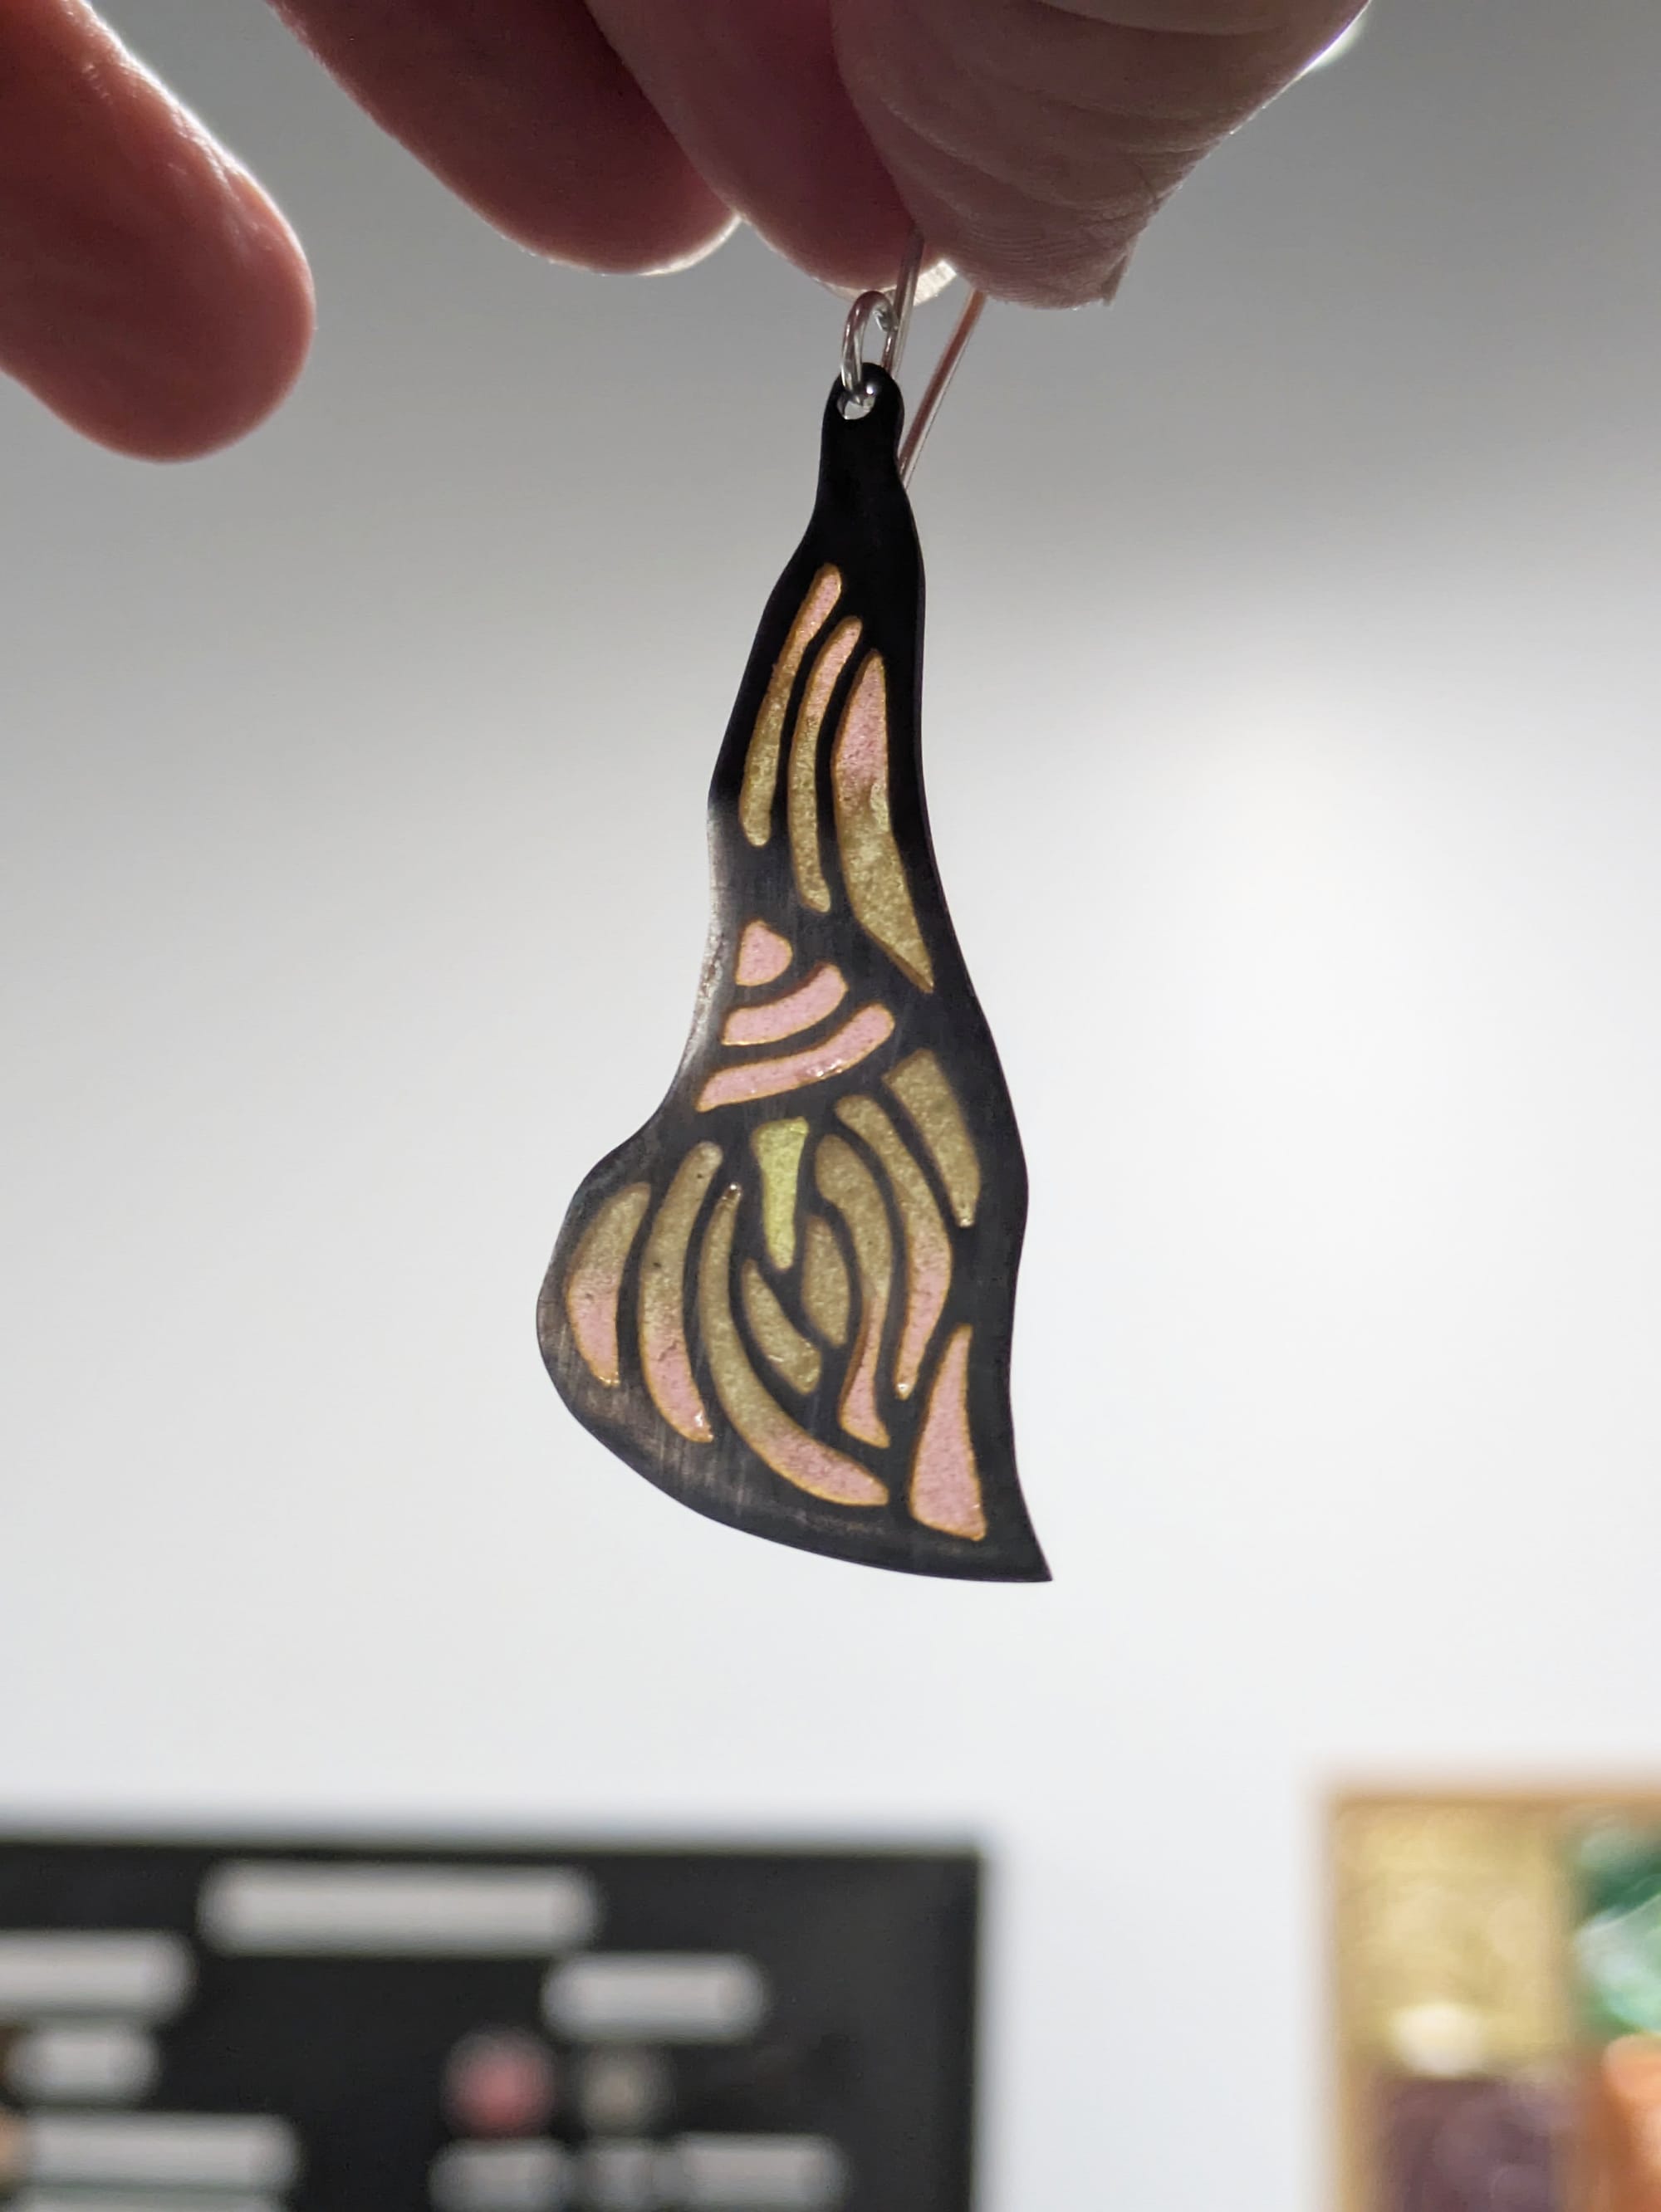
And I got a nifty pair of earrings out of it!
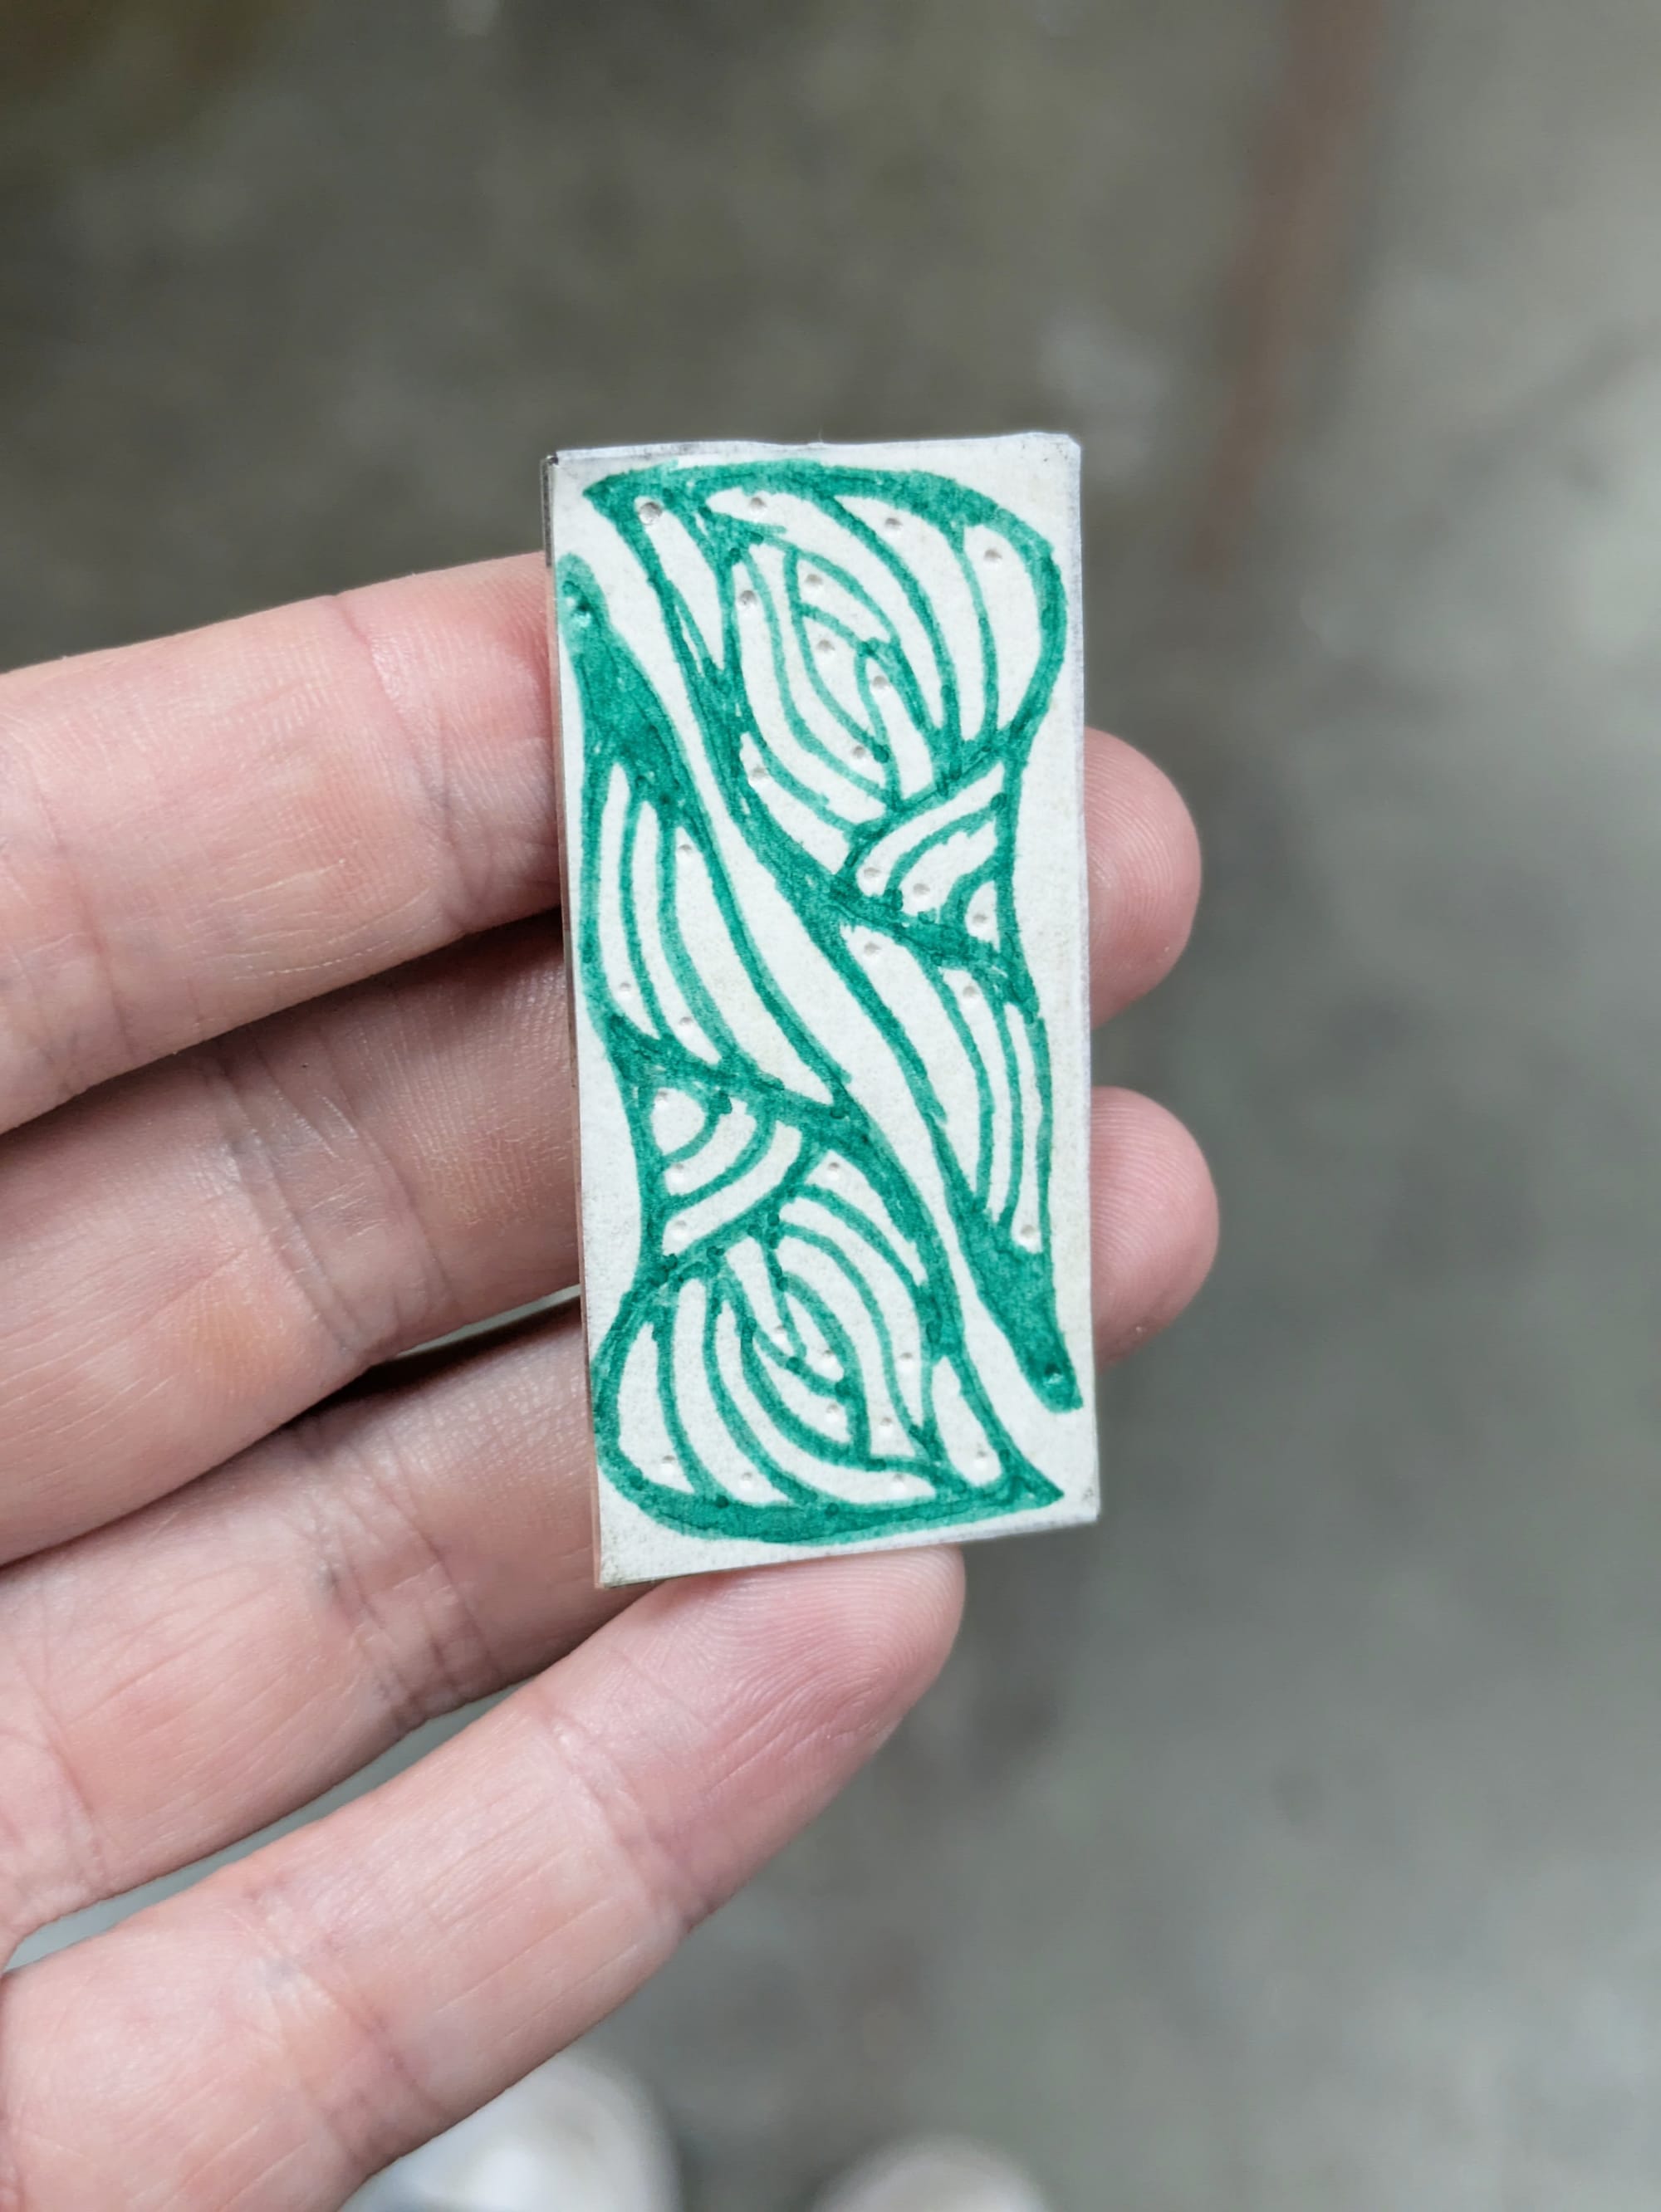
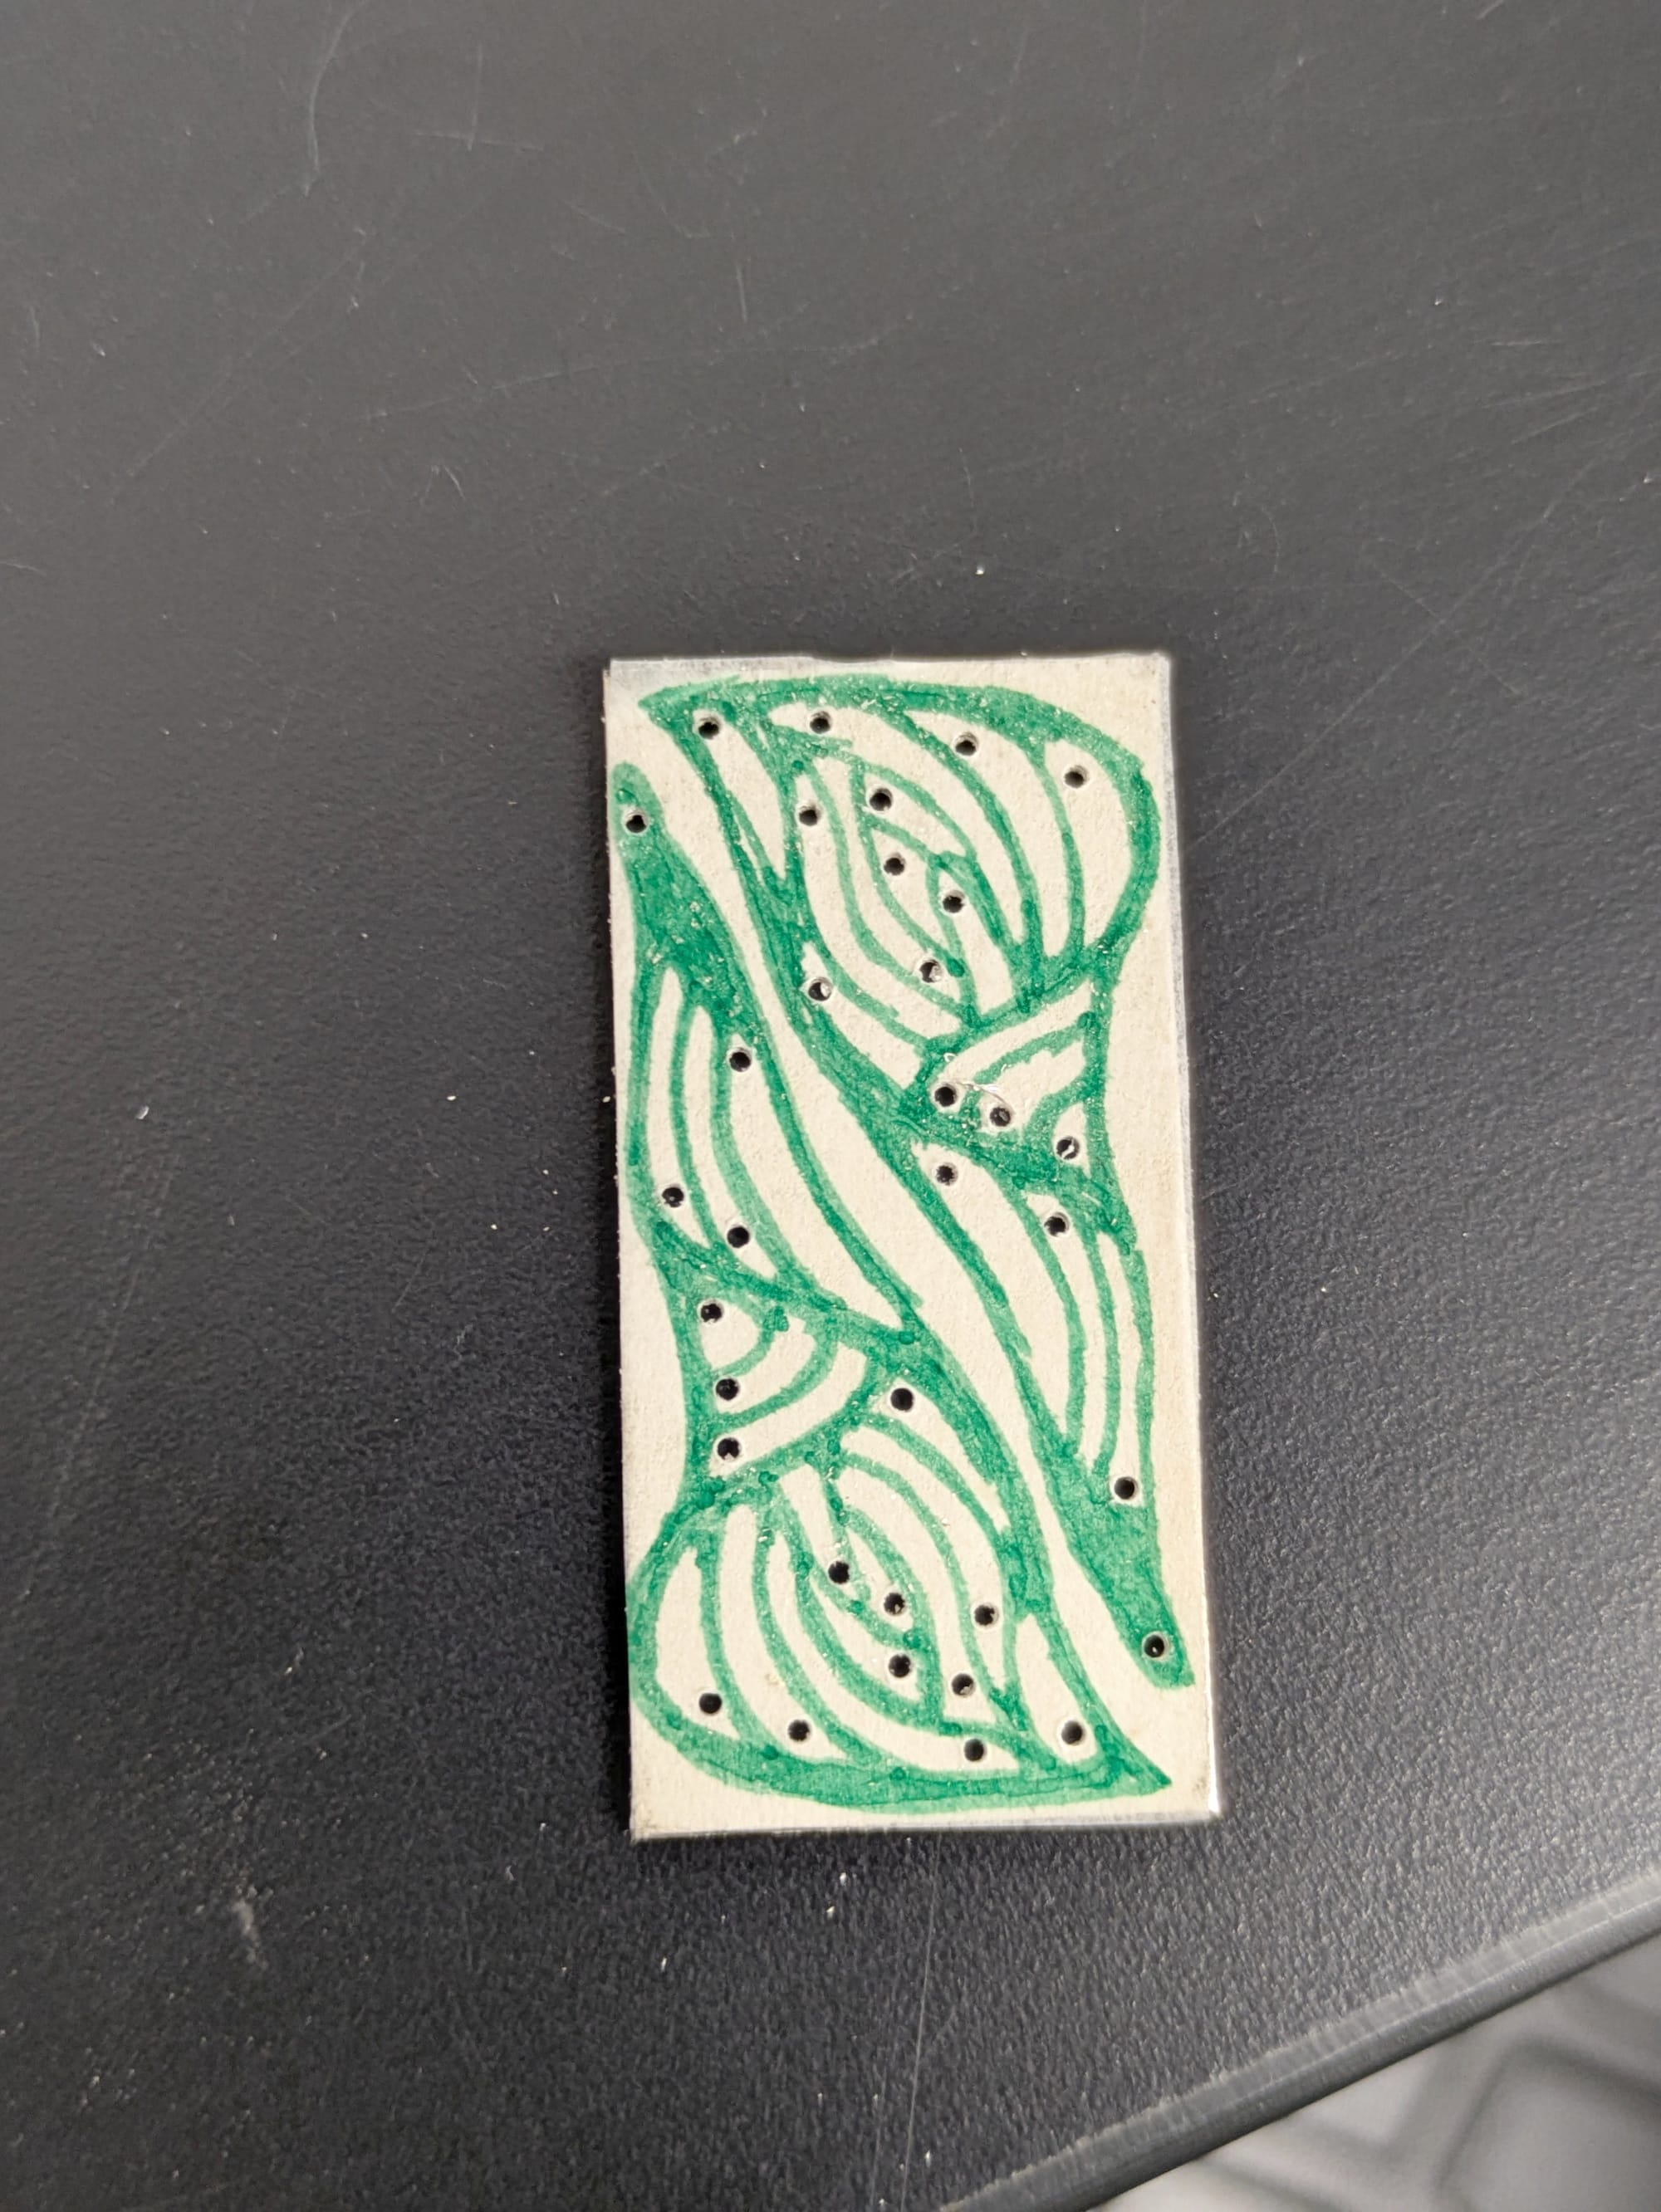
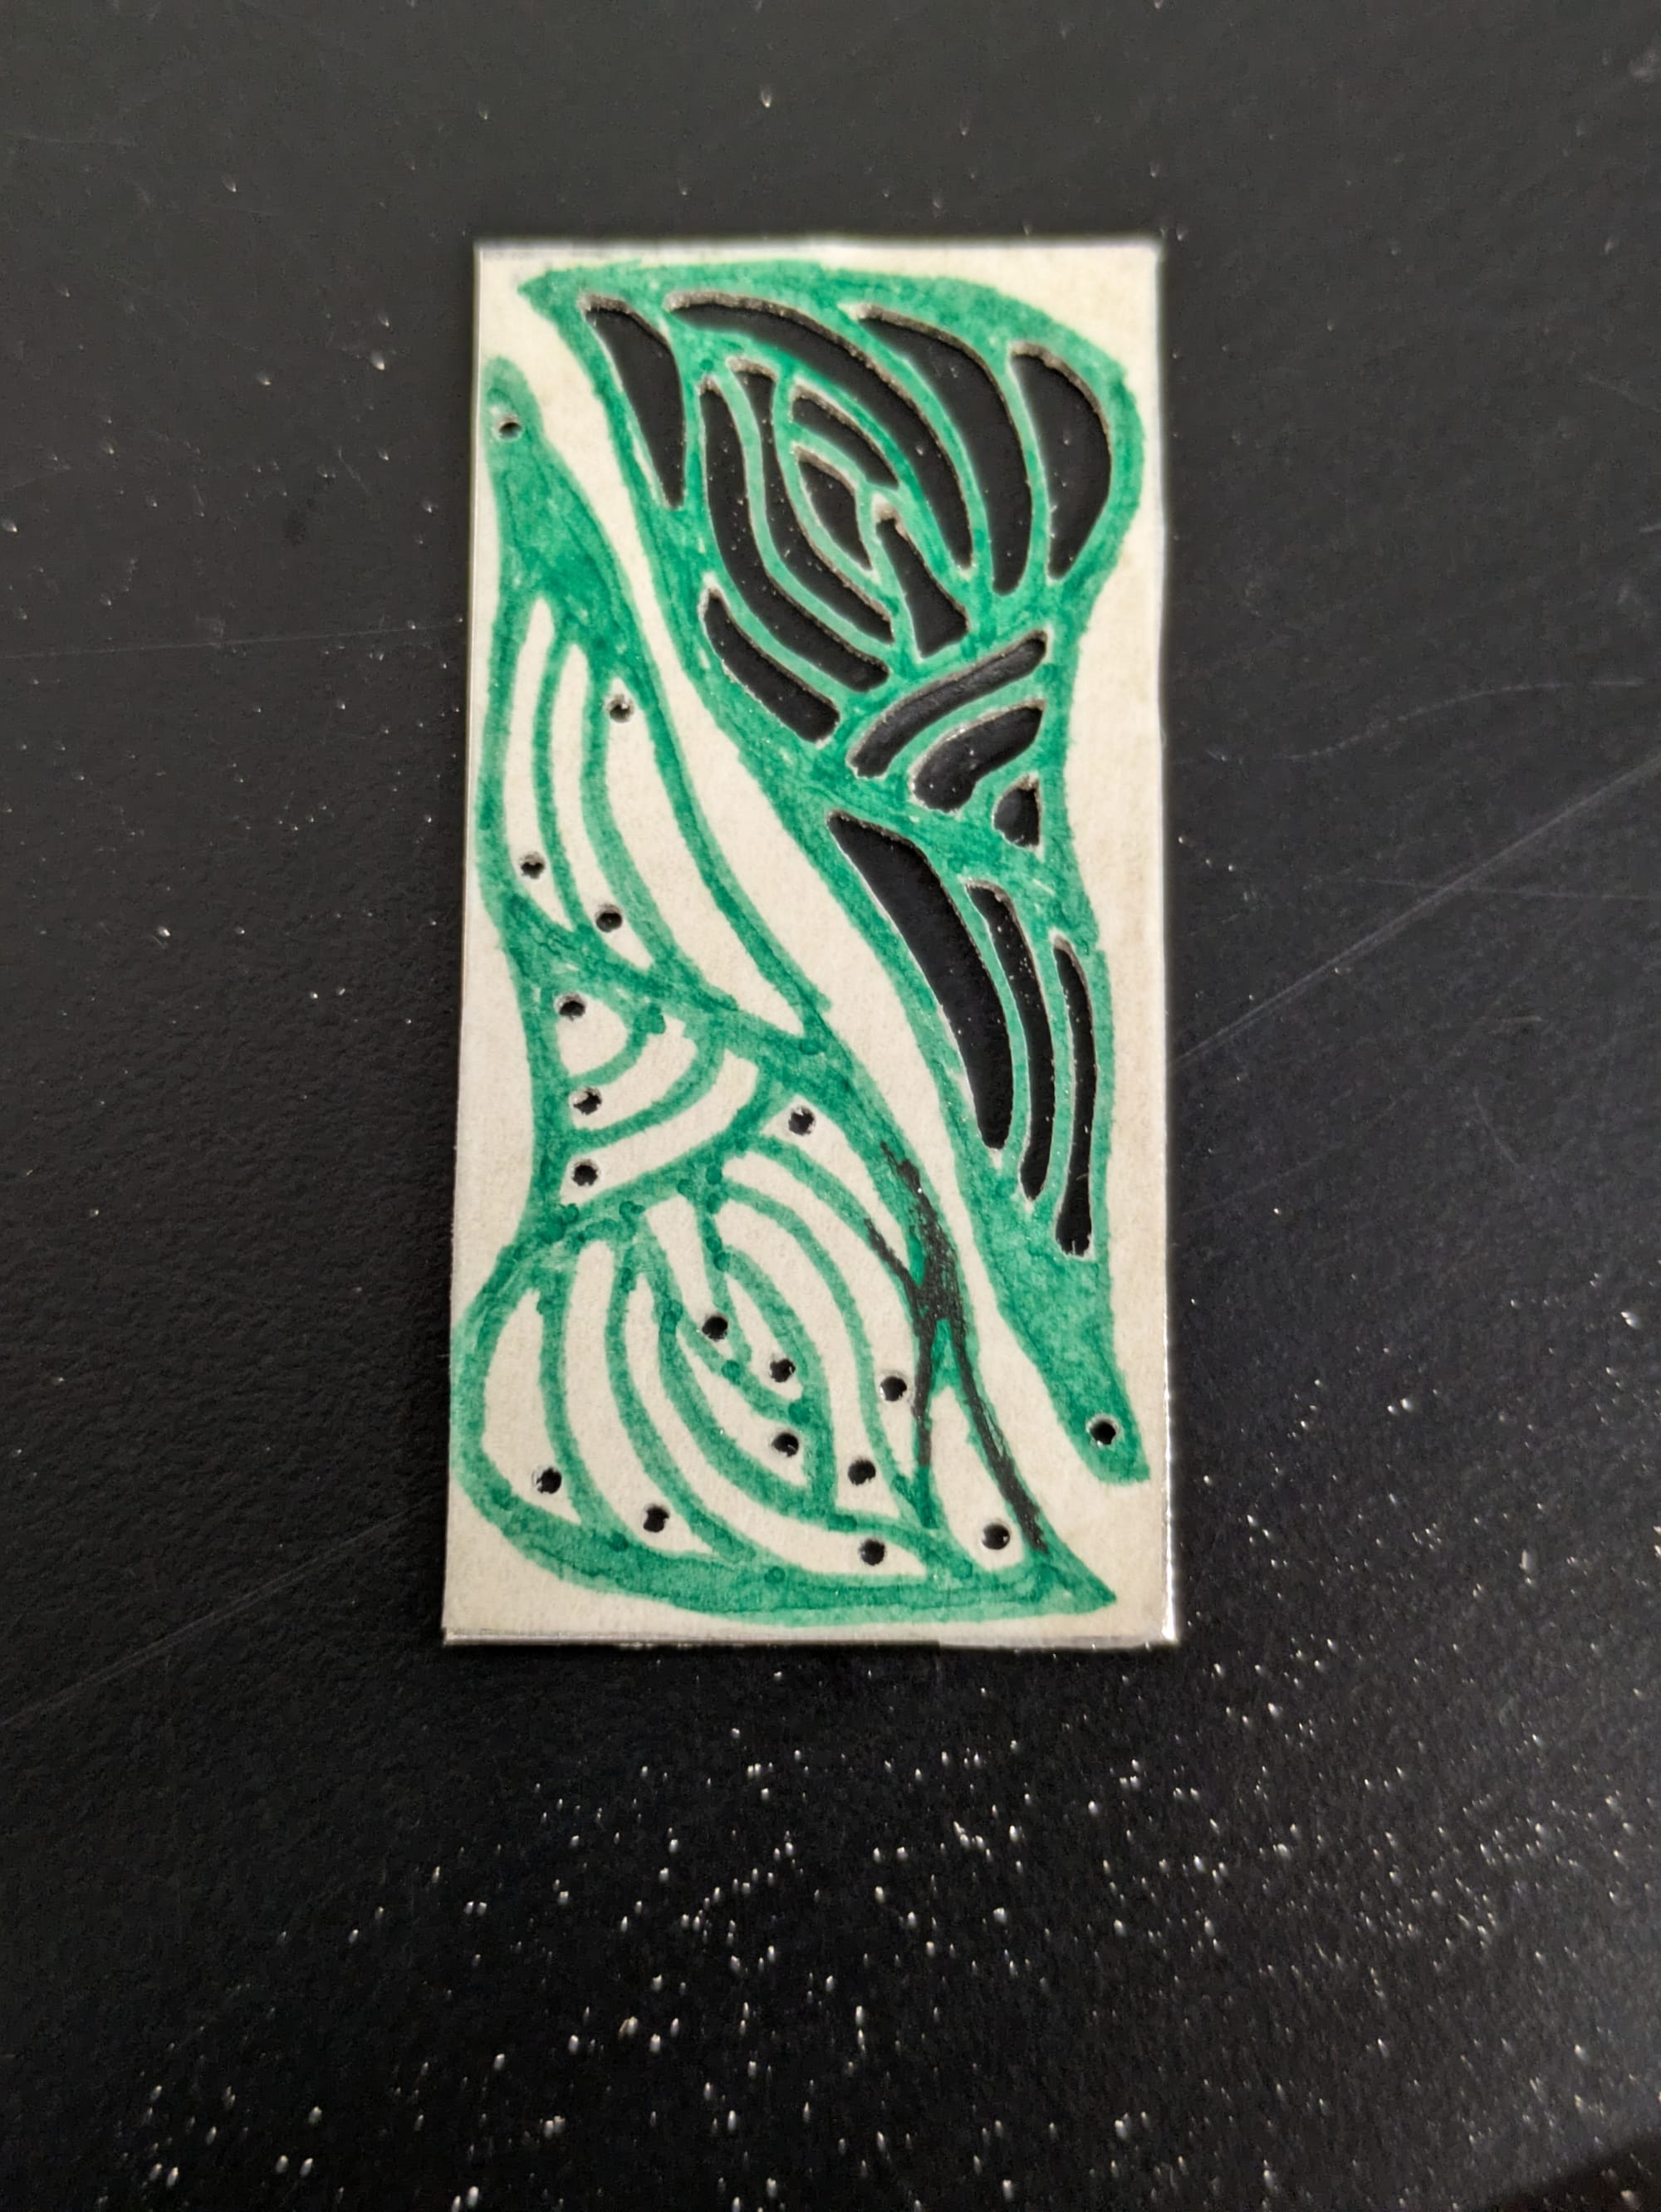
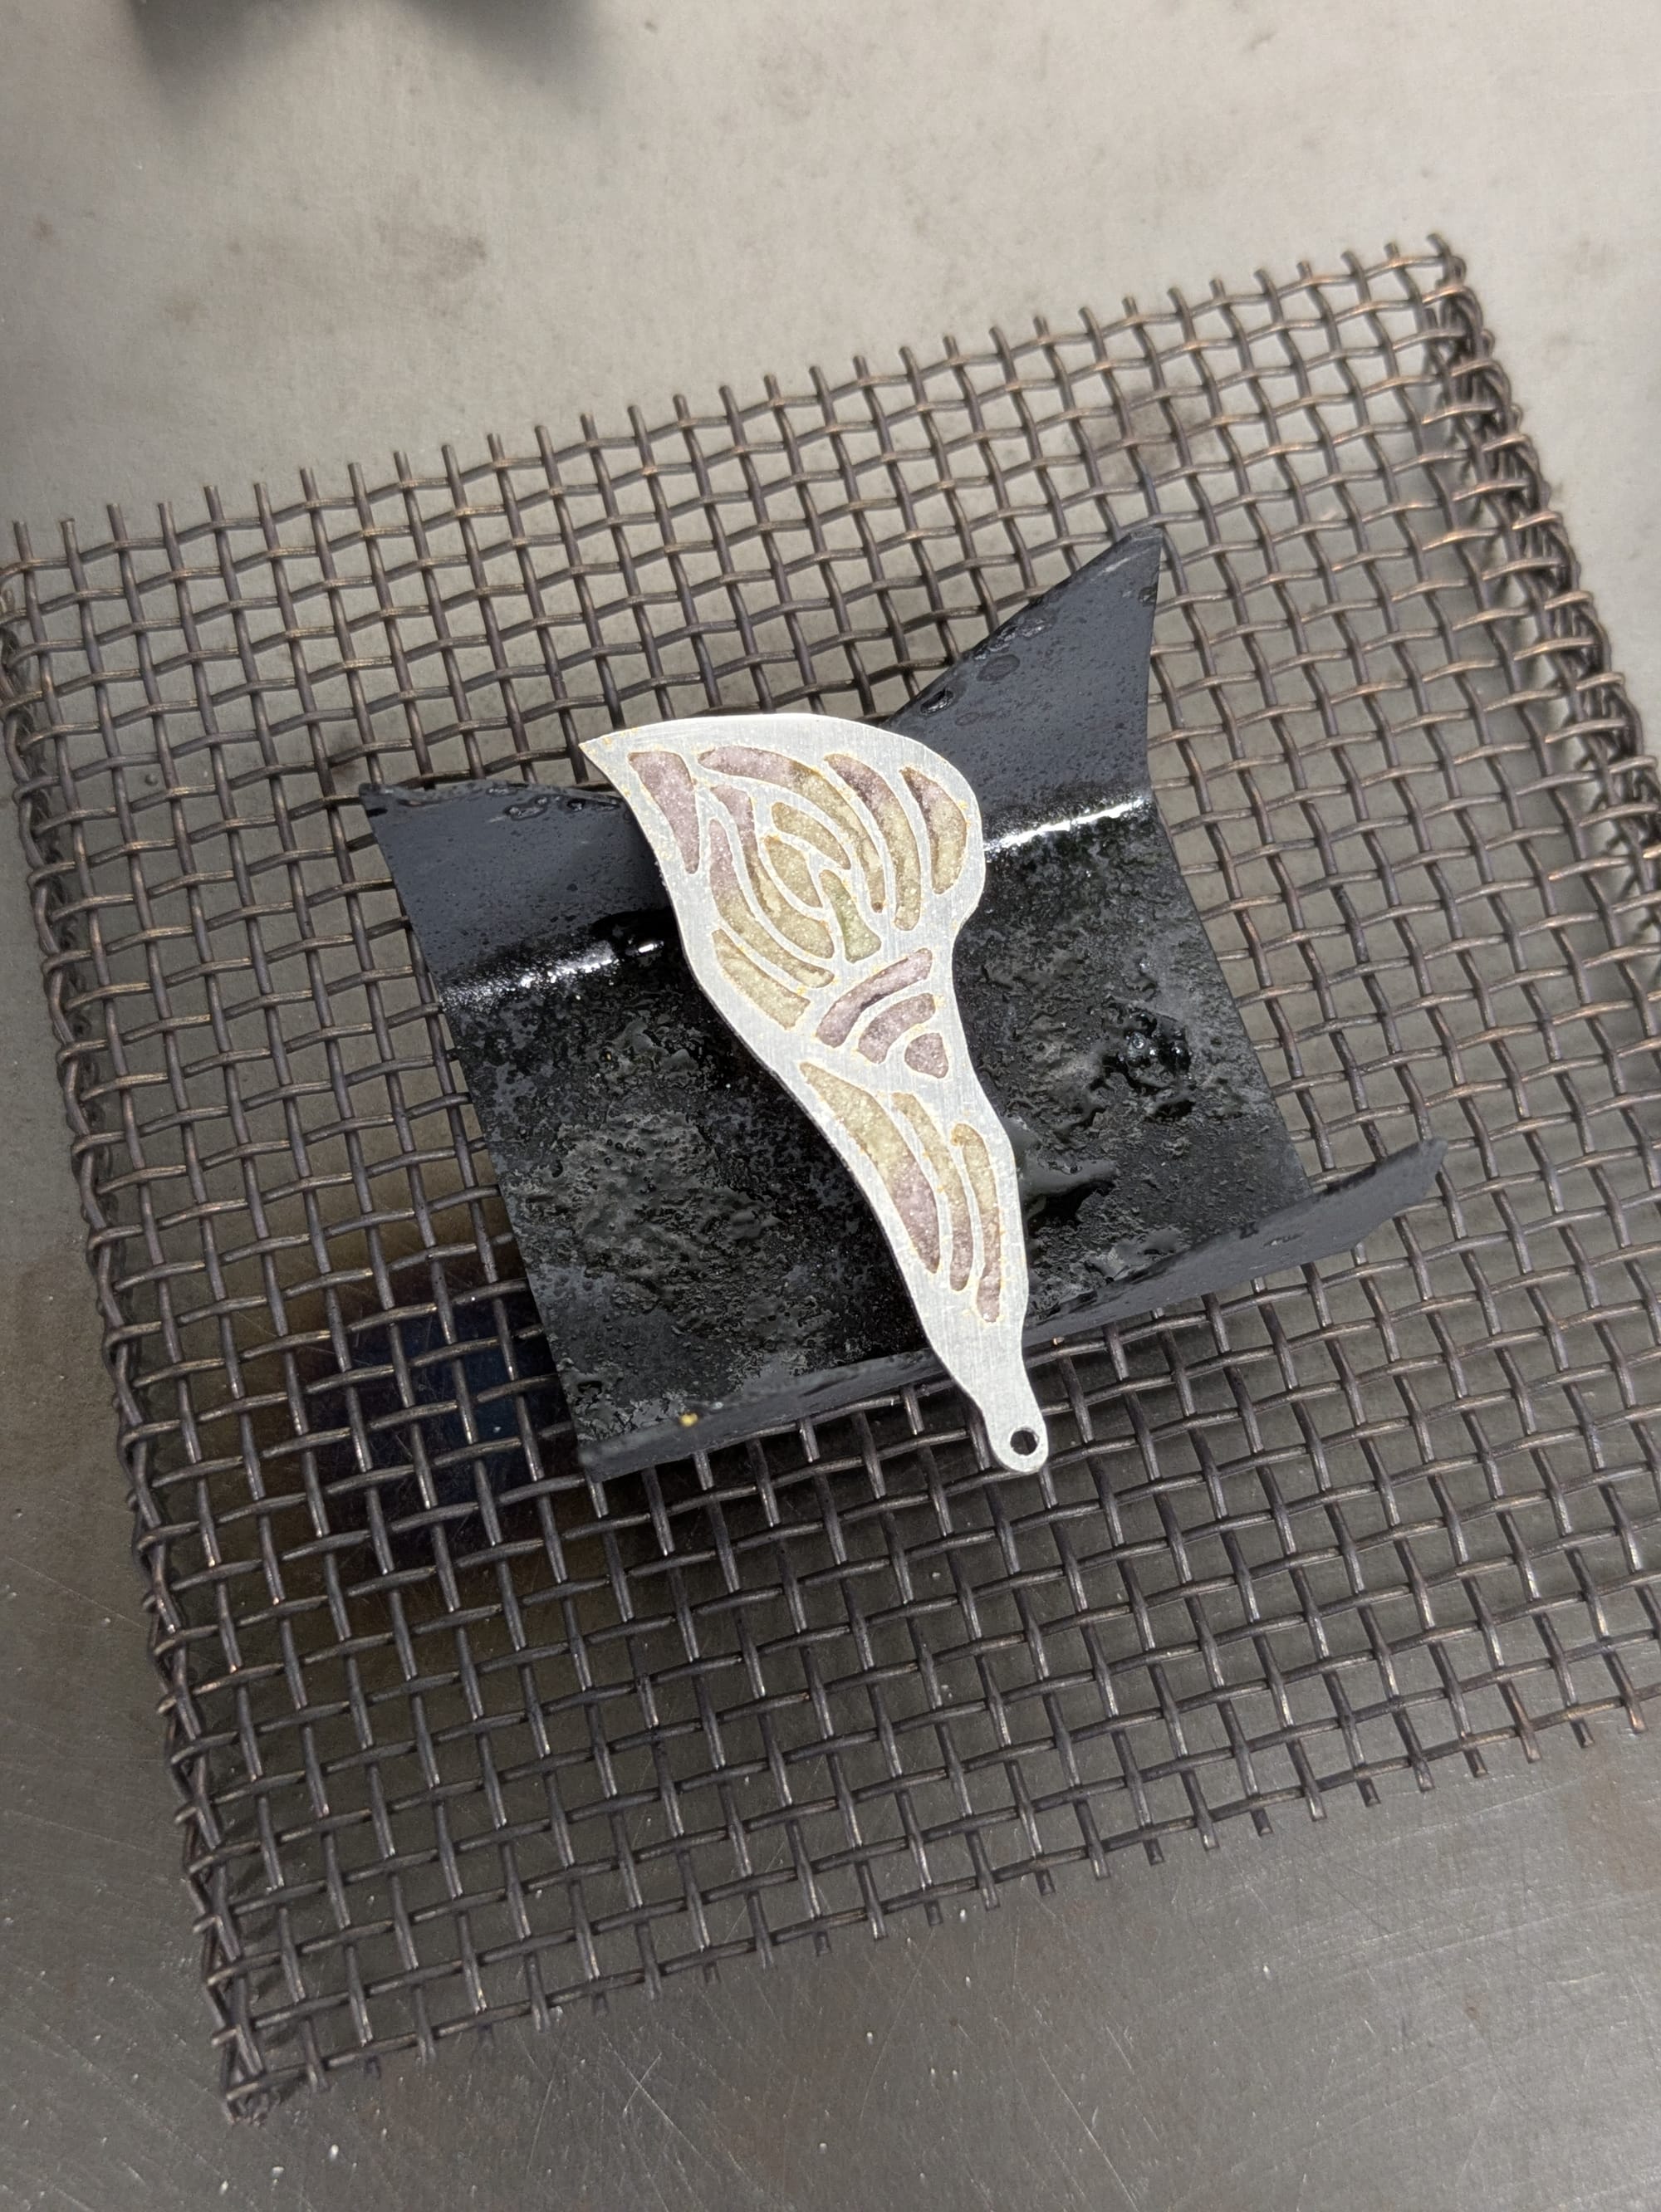
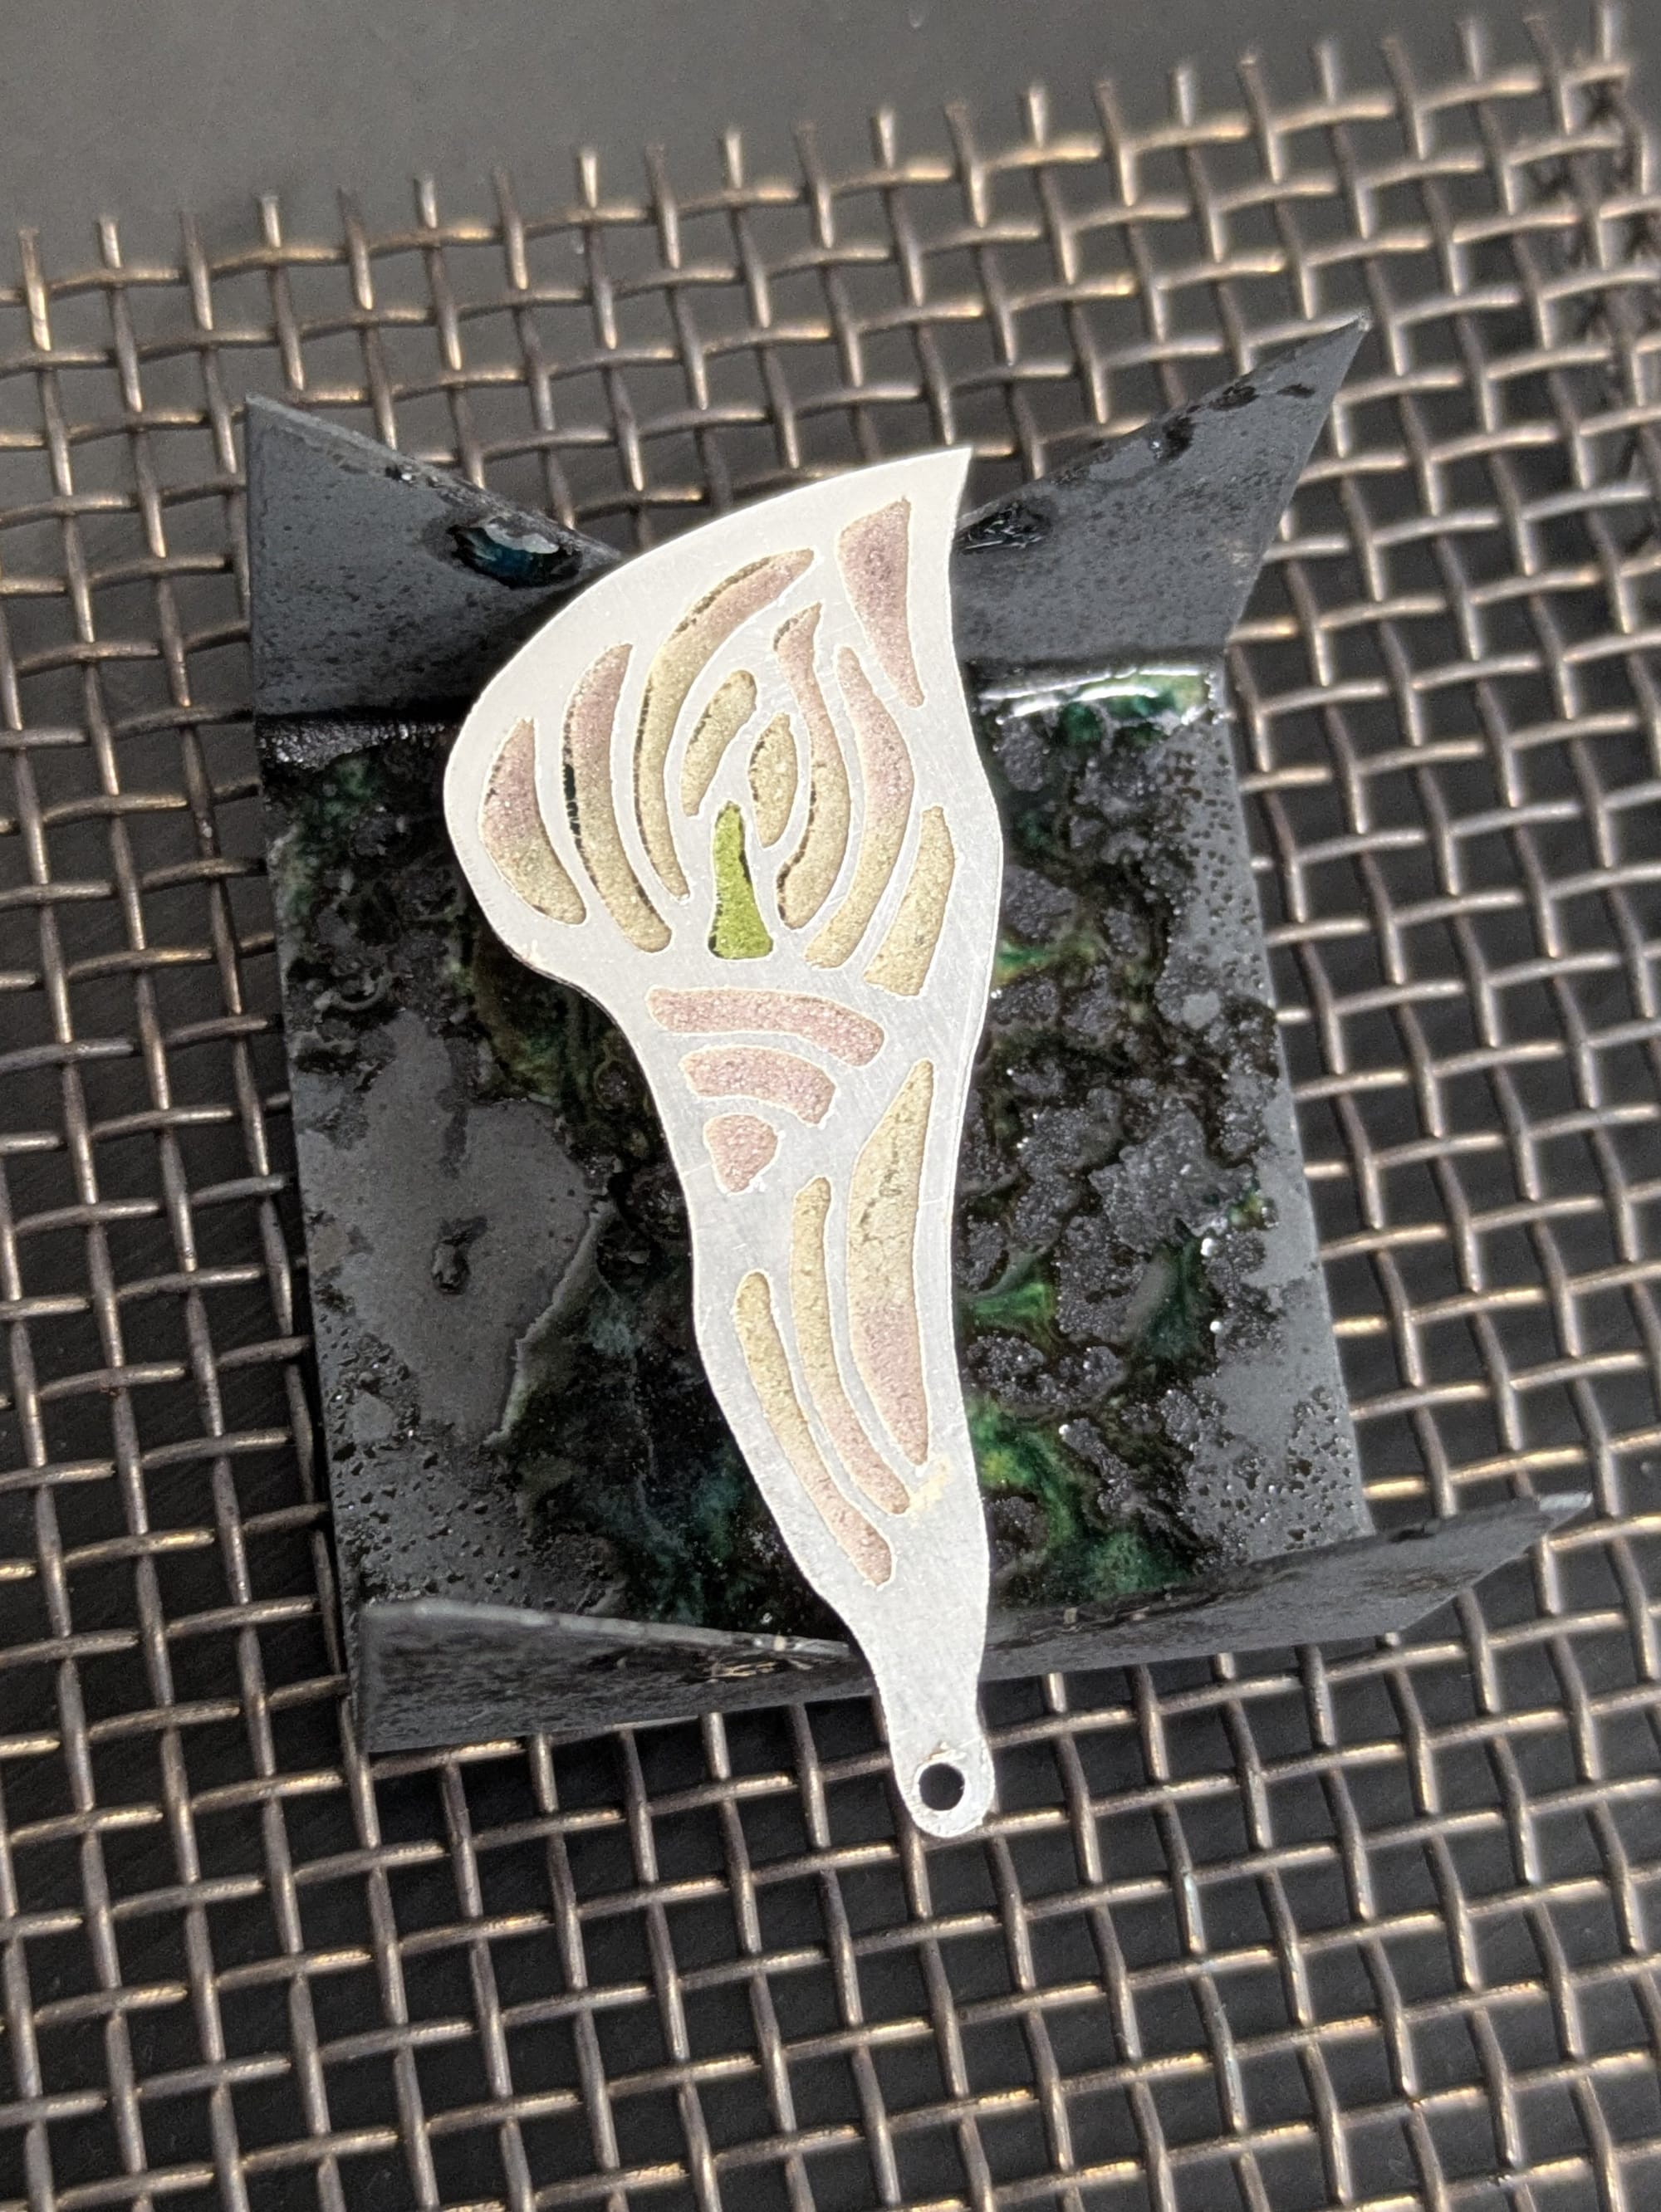
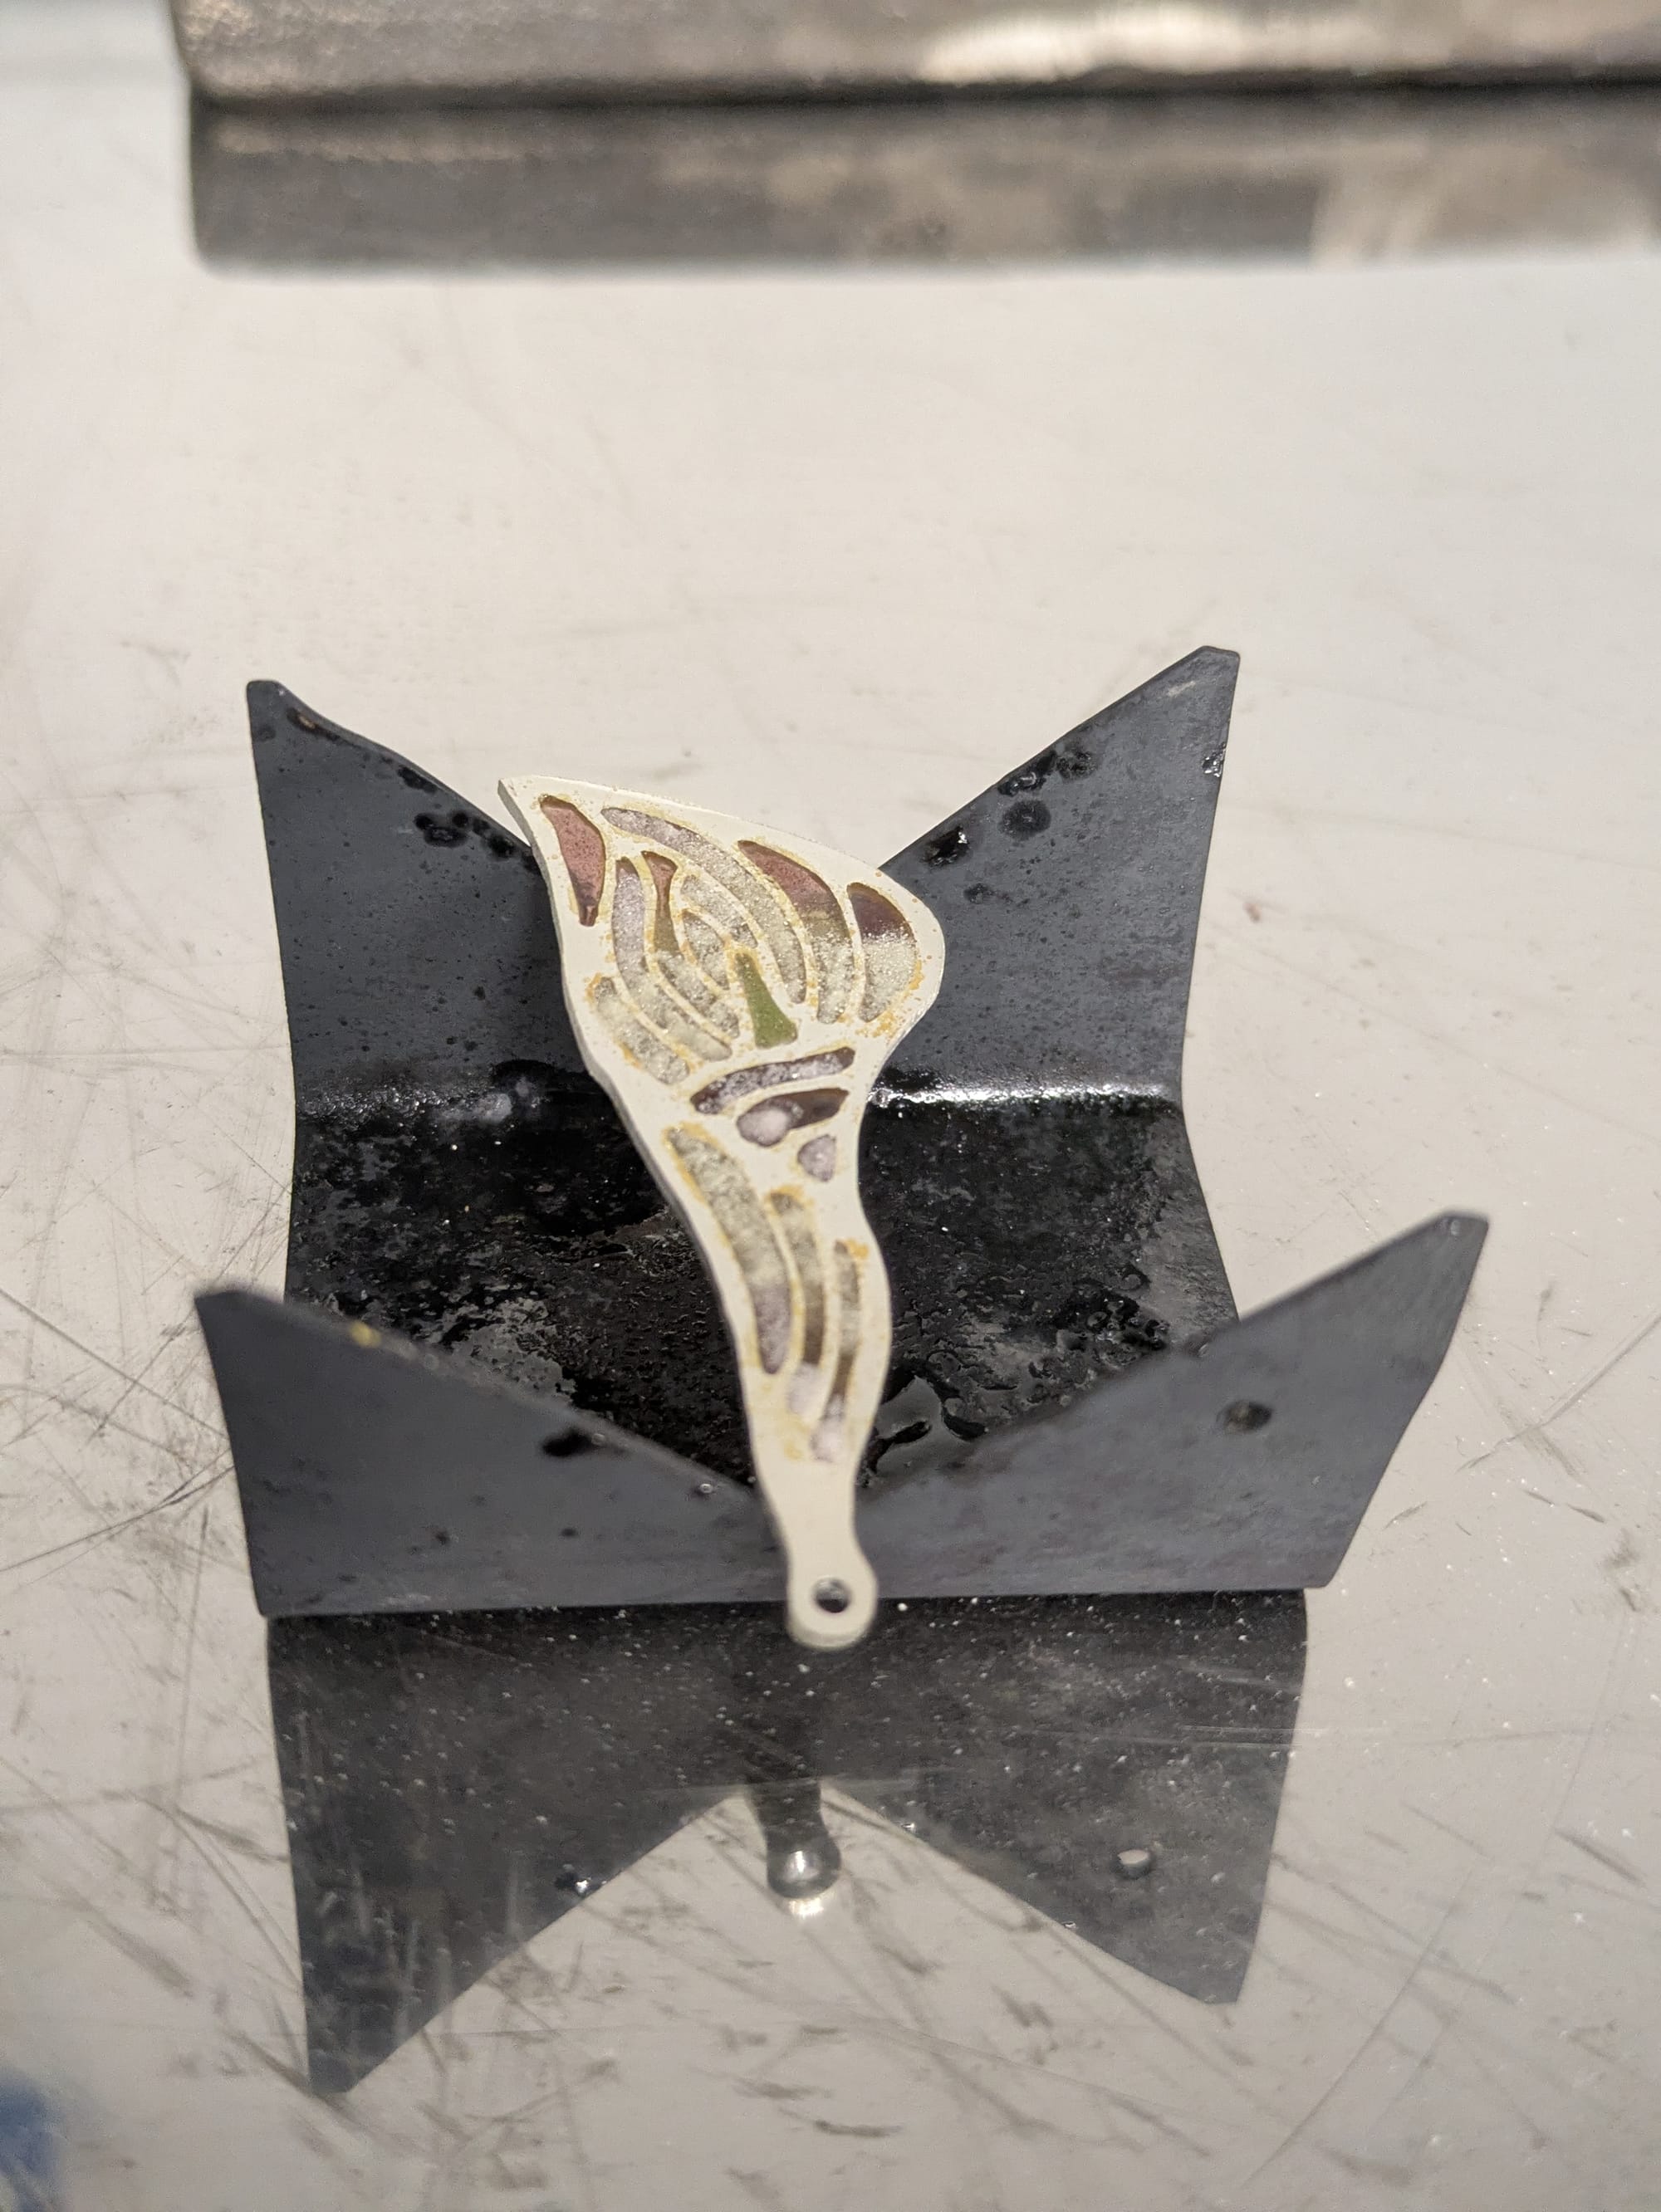
Design and Plan. I tried to maximize use of the 1" x 2" piece of 18g fine silver I was given for class. The small dots are divots made with a center punch in preparation for drilling. 34 holes. I counted.Sawing, and sawing, and sawing... and trying to maintain the symmetry. You need to be very comfortable with a jeweler's saw for this project.With the sawing finally done, there's a very mild amount of filing (mostly the outside) and a gentle smack with a soft mallet to ensure the work is flat, without warps.Alas, I did not take any photos of the wet enamels. By sorcery and surface tension, the enamel is convinced to fill the gaps.First layer fused. This layer only reached the sugar stage, meaning the grains of enamel began to stick together but didn't melt enough to become glossy. My colors were cranky and I required all 5 layers and then a few extra attempts to get the heat just right.This project usually runs about 5 layers of enamel application. Each layer feels smaller than the one before. Everything is a mess.Both pieces are filled and fused at last! The light color, "Flax" had some large grains and possibly contamination; it resisted glossing and never did reach full transparency. The piece on the right has been cleaned up with a grinding pad that smooths the enamel as well as removing excess glass from the silver.After a little sanding, low spots in the enamel become apparent. This would be the moment to add more enamel and fire again to fill the gaps, then repeat the grinding and sanding steps.However, I was at the end of a busy weekend and losing motivation fast, so I did not fill my gaps. Maybe some day I'll go back and refinish them. Instead I proceeded to hand-polish, and decided to leave the enamel with the satin finish caused by sanding.Liver of Sulfur to blacken the silver (which hides many sins of rushed sanding) and helps the pale yellow color pop out.
Miranda Andersen and I trying to get both our works in for the photo (lol)
If you live in the San Francisco Bay Area, be sure to check out The Crucible for this and all kinds of other classes, where you can learn amazing crafts and take home a little piece of art ❤️
Miranda is an awesome instructor at the Crucible and an accomplished artist. Find her on LinkTree @miranda _sen
Subscribe to KJD Blog
Sign up now to get access to the library of members-only issues.